How To Update Your Amazon Fire Stick
Installing the latest software can prevent apps from crashing. In this article, we will be explaining how to update Amazon Fire Stick Device.
Author:Daniel BarrettMay 28, 202237.1K Shares1.6M Views
It is important to know how to update your Amazon Fire Stickif you want your device to perform optimally. In addition, updating your software will help resolve error messages on your Fire TV device. In this article, we will be explaining how to update the Amazon Fire Stick device.
Installing the latest software can prevent apps from crashing or removing features incorrectly added in previous versions. In addition, you can update your Amazon Fire TV devices automatically, and you can also do a manual install.
How To Update Your Amazon Fire Stick
Amazon rolls out new software versions almost every month, and that’s why it is a good idea to check for updates and manually install them.
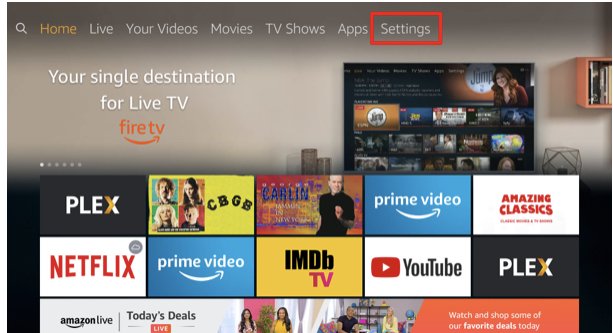
- Navigate to Settings; it’s the last option in the menu bar at the top of your Home screen.
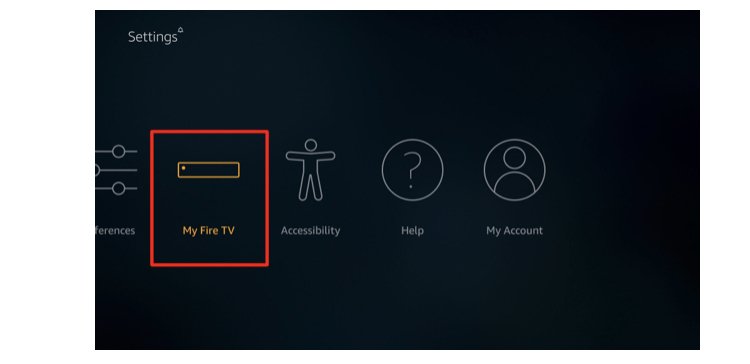
- Scroll to the right and Select My Fire TV. If you have an older Fire Stick, it may be labeled “Device” or “System” instead.
- Choose About.
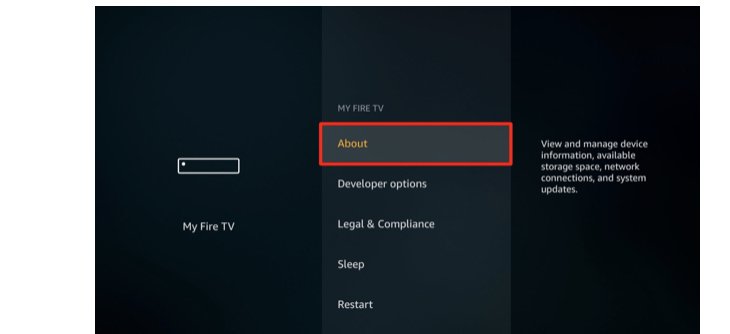
- Select either “Check for Updates” or “Install Update.”
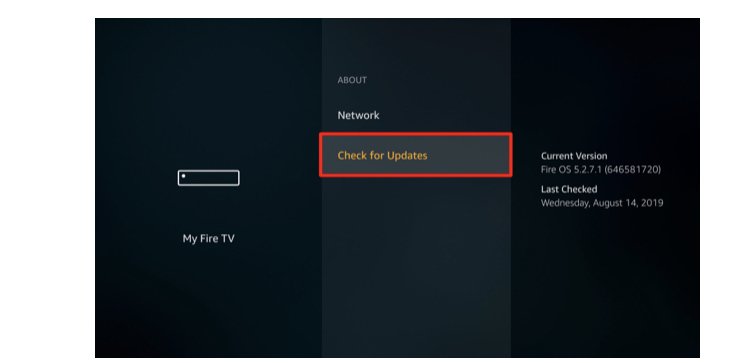
- If your device is up to date, you will see “Check for Update.” If an update is available, you will see “Install Update.” At the right panel, You will also see a message that says the update will automatically begin the next time your Amazon Fire TV is idle.
- It will also notify you to reboot your system to install the update.
- Hit Select on your remote. Once you do this, your TV will power off.
- Wait for updates to be installed. Then, a pop-up message will show on your screen to notify You that your device is installing the software.
Warning:Do not unplug the power cable during the update.
Note that: Installing the update will take from 5-15 minutes, depending on your internet connection speed.
Editor’s picks:

Daniel Barrett
Author
Daniel Barrett is a tech writer focusing on IoT, gadgets, software, and cryptocurrencies. With a keen interest in emerging technologies, Daniel offers expert analysis and commentary on industry trends. Follow him for authoritative insights into the latest tech innovations.
Latest Articles
Popular Articles