How to Fit it when Mac Ethernet is not Working
This article explains how you can troubleshoot when your wired ethernet connection is not working on your Mac.
Author:Daniel BarrettMay 30, 202272 Shares72.4K Views

Mac Ethernet not Working– Many people connect to the internet via Wi-Fi. But hardwired ethernet cable connection is faster, more secure, and more reliable.
Sometimes, you may experience that your Mac’s Ethernet is not working, and you may see that the network status is saying “Cable Unplugged” while it is connected.
It’s a shame if you suddenly lose that ethernet connection option on your Mac if there’s no Wi-Fi substitute. But don’t worry, you can fix the issue.
This article explains how you can troubleshoot when your wired ethernet connection is not working on your Mac.
Check Your Cable
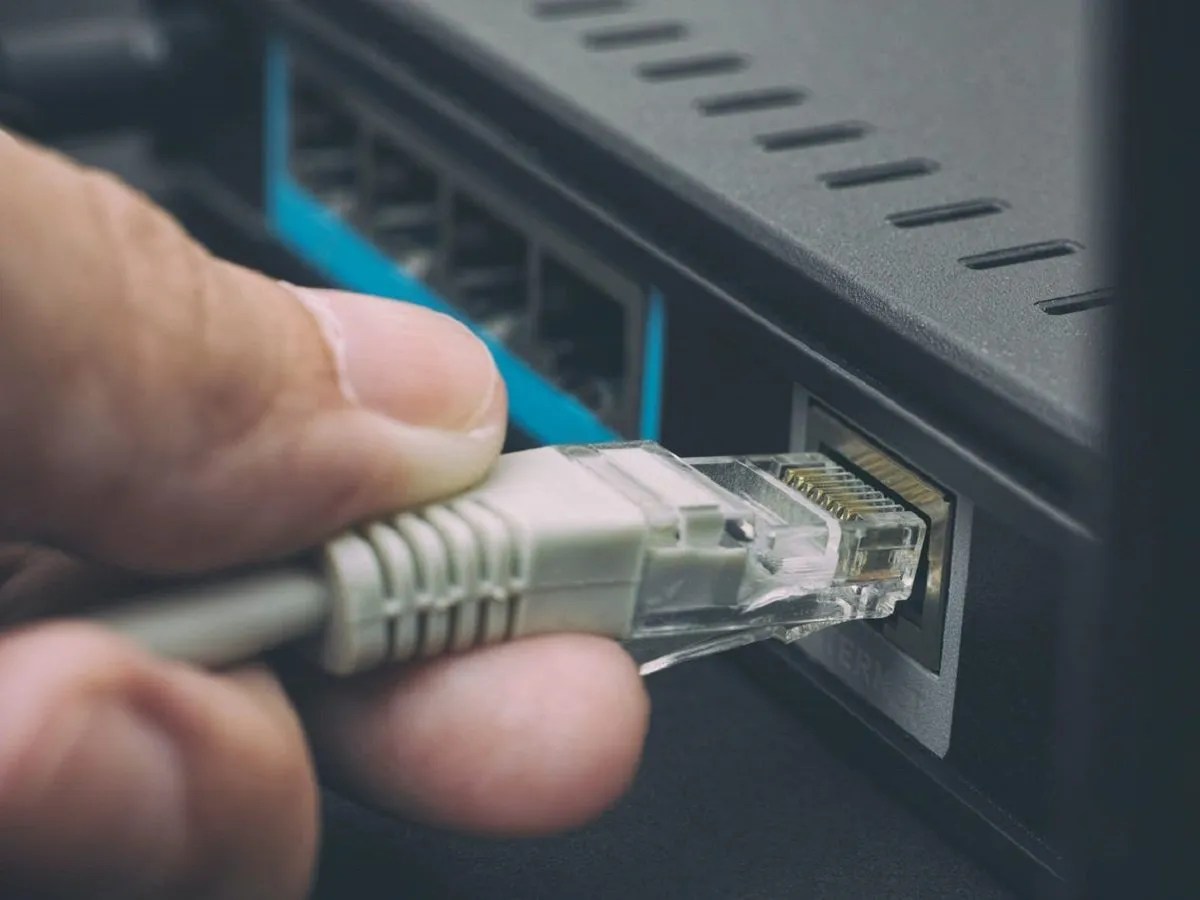
One of the first things to check is the ethernet cable itself. See if there are signs of damage, like scorch marks or twists. Replace the cable if it looks damaged.
Also, ensure that you check for firm, proper connections between your computer and the ethernet device. Disconnect the cable and then reconnect. You can also try plugging the ethernet cable into a different port.
Restart Ethernet using Terminal
If you’re sure your Ethernet cable is working perfectly, and Ethernet is still not working on your Mac, It’s time to try restarting your Mac’s wired network interface. This trick helps eliminate any random bugs or garbage memory that might affect your Mac’s ability to connect to the ethernet.
Here is how:
- Open Terminal (Applications > Utilities).
- Enter the following command and press enter: sudo ifconfig en0 down
- Enter your password if asked.
- Then enter the following command and hit enter: sudo ifconfig en0 up
- And then test to see if Ethernet is now working.
Note:en0 is the name of the wireless interface. It could be en1 etc.
Ensure Settings Are Correct
Does your ethernet cable look fine? The next thing to check is your network settings. Make sure you’ve selected Ethernet, not Wi-Fi. Incorrect settings could explain why you can’t go online via a wired connection no matter how many times you try.
Here’s how to check your network settings:
- Start by clicking the Apple menu on your Mac’s home screen.
- Next, choose System Preferences.
- Then, click Network.
- On the left side of the screen, you’ll see a list of network services.
- Select Ethernet. If you don’t see this option, click the Add icon. Enter the settings for your ethernet connection. Click Advanced to enter more detailed settings. Contact your service provider if you want to configure the settings.
Now, see if you can go online by connecting to ethernet. If not, try our next solution.
Delete the Ethernet Service and then Re-add
None of the above solutions worked? We’ve got another fix for you. Try to delete the ethernet service from your Mac and then re-add it. This trick will help eliminate random bugs or unnecessary setting changes that caused your ethernet problem.
Here’s how:
- Make sure that your ethernet cable is connected.
- On your Mac, go to System Preferences > Network.
- You will see a list of services: Wi-Fi, Bluetooth PAN, Ethernet, etc. Select Ethernet.
- Click the remove (-, minus) button at the bottom of the list at the left to remove Ethernet, then click Apply.
- Now select Bluetooth PAN and then click the Advanced button.
- Then click the DHCP Lease button. Click OK and Apply.
- Then restart your Mac.
- Now again, go to System Preferences > Network.
- Click the add (+) button, and a popup will appear. Open the Interface dropdown menu, select Ethernet, and click Create and Apply.
- Wait for your Mac to connect to the internet automatically.
If you are still having this problem, contact Apple. Apple offers many support options, including live chat.
Also read:

Daniel Barrett
Author
Daniel Barrett is a tech writer focusing on IoT, gadgets, software, and cryptocurrencies. With a keen interest in emerging technologies, Daniel offers expert analysis and commentary on industry trends. Follow him for authoritative insights into the latest tech innovations.
Latest Articles
Popular Articles