How to Fix the ‘Sim Not Provisioned’ Error On Android and iPhones
In this article, we will be walking through steps to fix SIM not provisioned error on your Android and iPhones. Click the link to read full guide.
Author:Daniel BarrettJun 26, 202211.2K Shares350.3K Views
Do you get a “SIM not provisioned” or “SIM not provisioned mm#2” error when you insert a SIM card on your phone? Read this article to learn why you’re getting this error message and 8 potential solutions to the problem.
This error tells you one thing: your phone doesn’t recognize the SIM card. Consequently, you’d be unable to send or receive voicemails, use cellular data, or perform other activities that require a SIM card. If this describes your current situation, refer to the troubleshooting steps below.
What Does “SIM Not Provisioned” Mean?
SIM cards contain certain information that helps with the identification of your cell phone account.
The SIM enables the phone to be identified as yours on the mobile network, thanks to the IMEI number. This enables you to make calls and connect to the mobile internet.
To understand why your phone may be displaying a “SIM not provisioned” error message, it helps to know what the word “provisioned” means. Provision can be defined as the act of providing or supplying something. In the case of your SIM card, your sim is not provisioned if it is no longer able to share information between your cellphone and your provider.
So how do you fix this error? Let’s get to it.
Enable Airplane Mode
Put your phone in airplane mode, wait for a few seconds, and turn it (airplane mode) back off. That will refresh your device’s connection with your cellular carrier and eliminate the “SIM not provisioned” error.
Open your phone’s Notification Drawer (for Android) or Control Center (for iPhone) and tap the airplane icon.
Wait for a few seconds and tap the same icon to disable airplane mode. Try the next trick if your phone still displays the error message.
Update Carrier Services
Like most things on your phone, communications between the device and mobile networks is controlled via an app.
Carrier Services is a Google app that is preinstalled in Android and receives regular updates. If you have found that the “SIM card not provisioned MM#2” error has occurred without you having swapped to a new phone or inserted a new SIM, it could be down to a problem with Carrier Services.
To fix this:
- Open Google Play
- Tap your account avatar to open the menu
- Tap Manage apps and device
- Under Updates available tap See details
- Look for Carrier Services
- Tap Update
Restart Phone
Rebooting your phone could also fix this problem. When your phone comes back on, wait for a couple of minutes for the SIM to get activated on the carrier network. If this doesn’t resolve the problem, it’s time to get some laundry done.
Enable and Disable Airplane Mode
Perhaps the simplest of all potential “SIM not provisioned MM2” errors is to disable all connectivity on the phone or tablet.
This is easily done thanks to Airplane Mode, a state that any mobile device can be switched into with a single tap. Enabling Airplane Mode disables connections to mobile internet and basic cellular networks; by subsequently disabling Airplane Mode, the aim is to re-establish a fresh connection to overcome the SIM not provisioned error.
To put Android into Airplane Mode:
- Swipe down from the top of the screen with two fingers
- In the Quick Settingsscreen, tap Airplane Mode
- Wait for the change (just a few seconds)
- When you’re ready to undo, simply repeat steps 1-2
At that point, a fresh connection should be made with the mobile network. If the SIM is working properly, the “SIM not provisioned MM2” error should no longer appear.
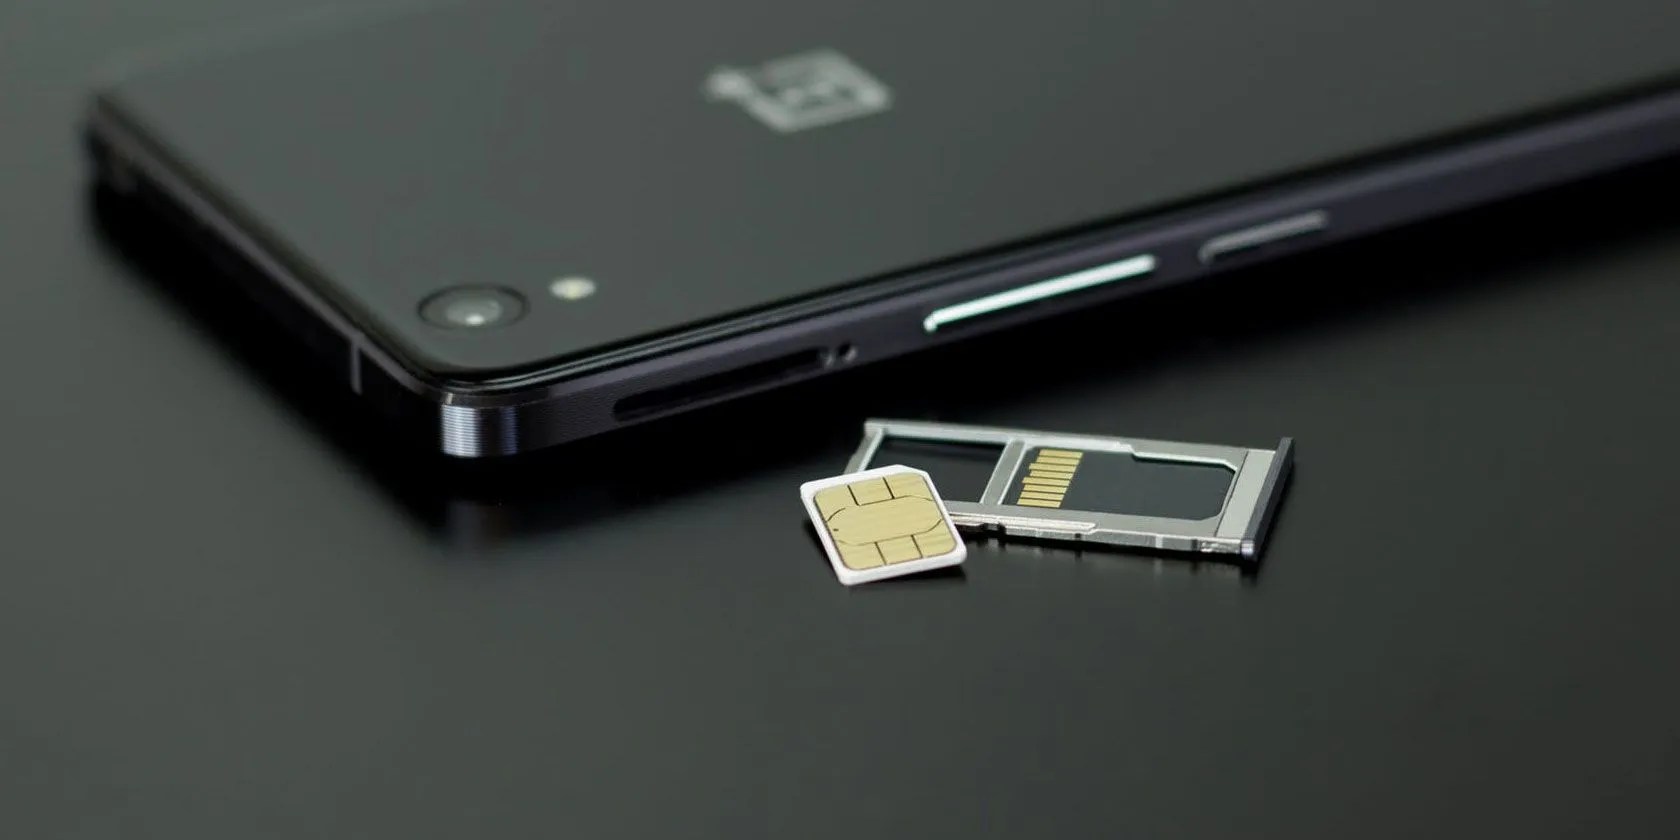
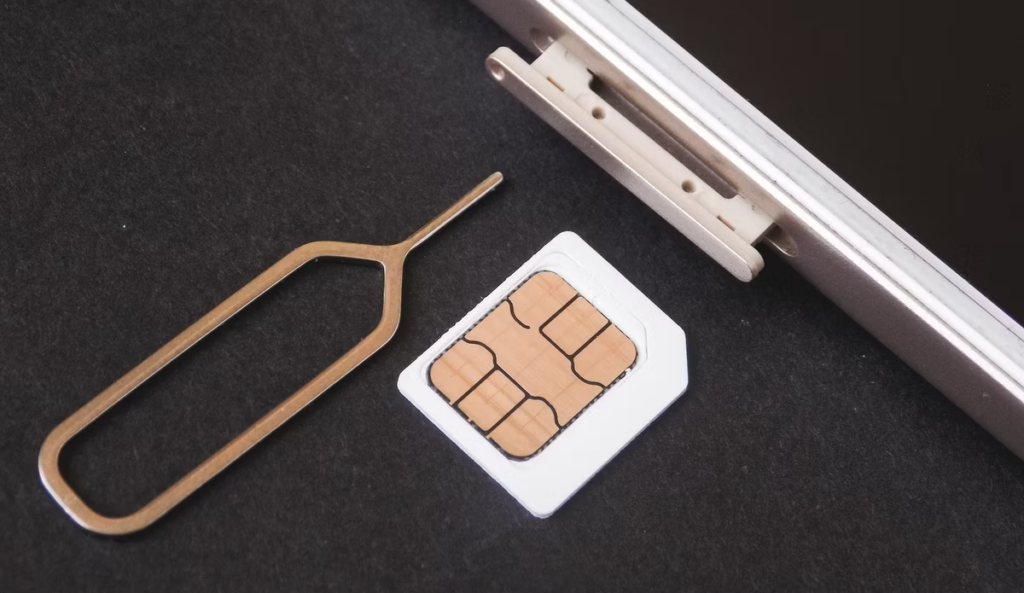
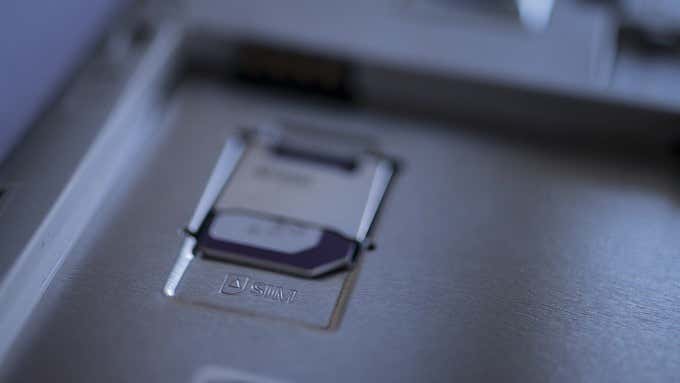
Clean SIM Card and SIM Ports
Your phone may fail to detect and activate your SIM card if there are foreign materials on the SIM tray, SIM slot/port, or on the SIM itself. By foreign materials, we’re talking about dirt, grime, dust, etc. Make sure your SIM card and SIM port are free of these materials.
Eject your phone’s SIM tray and clean both the SIM card and the port(s). Before you do that, we recommend powering off your device.
Use a soft and dry cloth to clean the gold contact of your SIM card. Do the same for the SIM card tray and slot. Be as gentle as you can, though; do not exert too much pressure while cleaning the SIM card slot so you don’t break the metal contacts.
For hollow SIM card ports, you can blow off loose dirt using a can of compressed air. Do not blow air into the port with your mouth; water vapor from your breath could damage the port. Reinsert the SIM card and make sure it’s properly fitted on the SIM tray and inserted correctly in the port.
Activate Your SIM Card
In most cases, a SIM card will be activated automatically within 24 hours of being inserted in a new phone. If this doesn’t happen, three options are usually available to enable activation:
- Call an automated number
- Send an SMS
- Log onto the activation page on the carrier’s website
Try Another Port or Phone
On some dual-SIM smartphones, the error message indicates the faulty SIM card—for example, “SIM 1 not provisioned” or “SIM 2 not provisioned”. Switch the affected SIM card to a different SIM slot on your phone and check if that resolves the problem.
If the error persists, try inserting the SIM card on another smartphone. If it works, then there’s something wrong with your phone’s SIM card slot or cellular antenna. Visit an authorized service center to get your phone examined for potential hardwaredamage.
However, if other devices also fail to recognize the SIM card, you should contact your cellular carrier.
Contact SIM Card Provider
Should none of the solutions mentioned above fix the problem, you have one last card to play: seek help! Reach out to your cellular carrier company (via email, social media, or phone call) for further help. Ask if your SIM card is active or registered on their network and let them know the steps you’ve taken so far to fix the problem.
Editor’s picks:

Daniel Barrett
Author
Daniel Barrett is a tech writer focusing on IoT, gadgets, software, and cryptocurrencies. With a keen interest in emerging technologies, Daniel offers expert analysis and commentary on industry trends. Follow him for authoritative insights into the latest tech innovations.
Latest Articles
Popular Articles