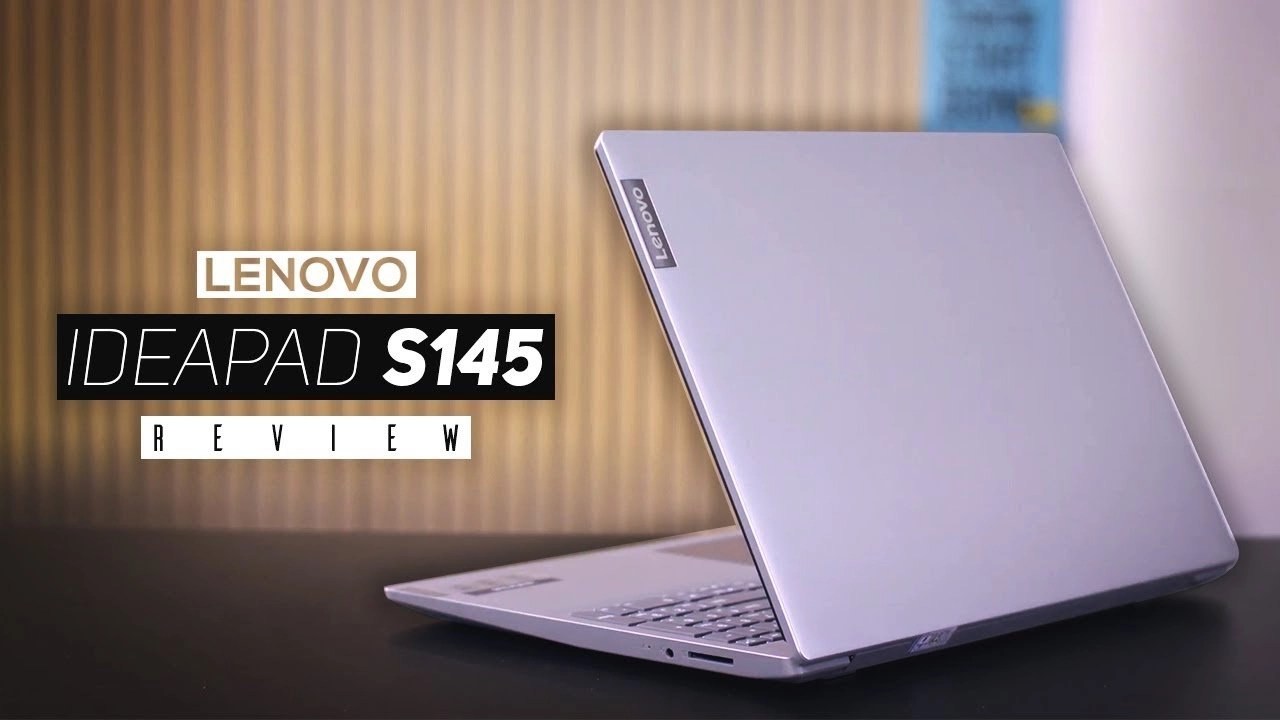
How to Take a Screenshot on a Lenovo Laptop
This article explains how to take a screenshot on a Lenovo laptop. Click the link to read the full guide...
Author:Daniel BarrettSep 17, 2022308 Shares308.2K Views

The introduction of screenshots on your computer screen can be helpful for several reasons. You might want to help someone with a step-by-step walkthrough, save a webpage for future reference, or screenshot frames of your favorite shows or movies. This article explains how to take a screenshot on a Lenovo laptop.
Taking a screenshot works differently depending on the kind of computer you have and the software that it’s running. Additionally, a screenshot can prove to be extremely useful while reporting an issue. IT or Web Support teams often ask for a screenshot when you contact them about a technical problem.
How to Take a Screenshot on a Lenovo Featuring Windows 10
If you have Windows 10 on your Lenovo laptop, here’s how to take a screenshot:
- Press the Windows key and Print Screen (Prt Sc) key together at the bottom right section of your keyboard beside the ‘Alt’ key.
- Once you press the keys, you’ll see your screen dim for a second. This will imply your Lenovo device has successfully taken a screenshot that is ready to use.
- Go to the ‘Screenshots’ folder from your Files to access the image.
How to Take a Screenshot on a Lenovo NOT Featuring Windows 10
If you don’t have Windows 10, use this method instead. It requires more steps, but it combines the functionality of the other two.
- Press the PrtSc (Print Screen) key on your keyboard to copy an image of your screen to the clipboard.
- Open Paint, or a similar application, and press control V to paste the open image in the program.
- Use the tools in Paint to mark up the image if you desire, then click “File” and “Save to” save it to your files.
Editor’s picks:

Daniel Barrett
Author
Daniel Barrett is a tech writer focusing on IoT, gadgets, software, and cryptocurrencies. With a keen interest in emerging technologies, Daniel offers expert analysis and commentary on industry trends. Follow him for authoritative insights into the latest tech innovations.
Latest Articles
Popular Articles