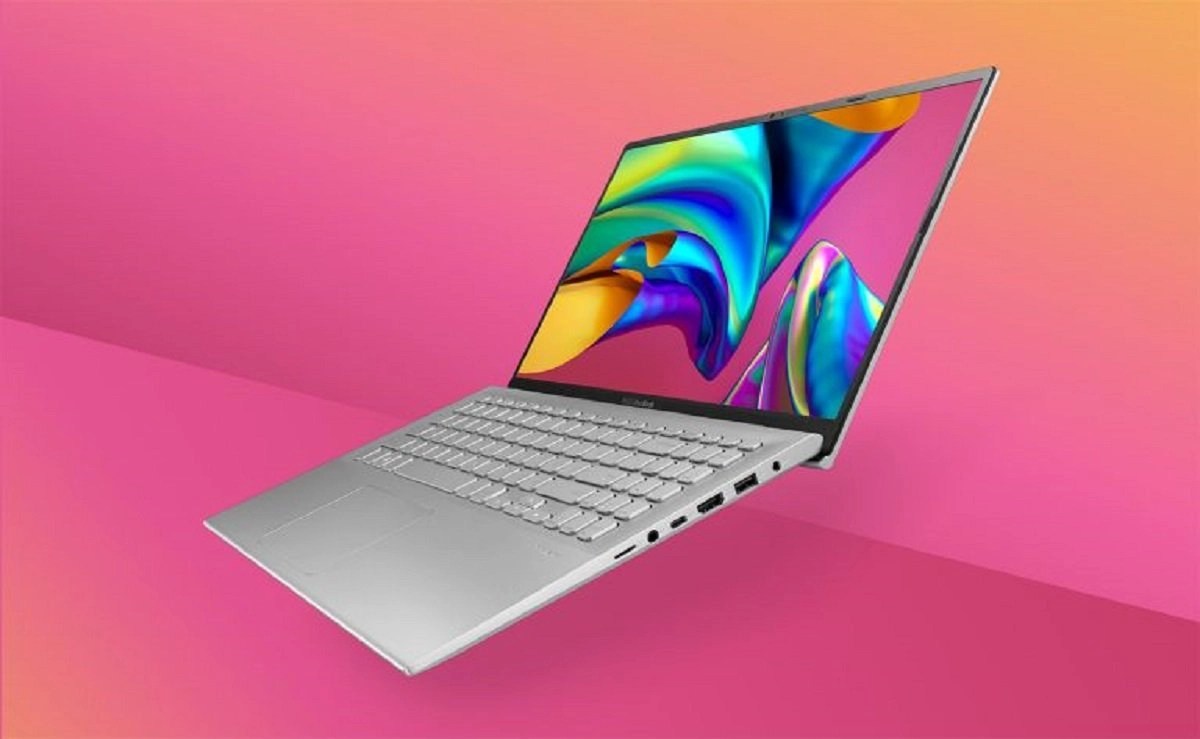
How to Take a Screenshot on an HP Laptop or Desktop
This article explains how to take a screenshot on an HP Laptop or Desktop. Click on the link to read the full guide.
Author:Daniel BarrettSep 14, 20223.7K Shares248.7K Views

A screenshot is a unique yet straightforward operation that allows you to capture exactly what’s displayed on your screen. However, how to take a screenshot on an HP Laptop or Desktopmight be challenging for some users.
Taking a screenshot is a common task that has been a standard feature built into computers since the early days of personal computing. This feature work for an HP computer, laptop, or tablet you own. You can take a screenshot with just a few clicks or taps.
A picture is worth a thousand words, and screenshots bear witness to this age-old saying. A screenshot, otherwise known as a screengrab or screencap, is a game-changer in this modern age of technology. Screenshots can be helpful as proof or when trying to show your colleagues a webpage you would like to design for yourself.
How To Take A Screenshot On An HP Laptop Or Desktop
There are multiple ways to screenshot on your Laptop, but they vary due to the model or Operating systemyou’re running. However, we’ve highlighted different methods that will work for everyone every time.
Method 1: Windows Key + Prt Sc
- Press the Windows key and Print Screen (Prt Sc) simultaneously with each other. You’ll notice your screen flicker for a second to imply it has successfully taken a screenshot.
- Go to your PCPictures to see or view all screenshots taken.
Don’t miss: The 5 Best USB-C Monitors You Can Buy In 2021
Note: All your screenshots will be stored under the ‘Screenshots’ folder. You can also press ‘Ctrl + V’ to paste the screenshot and share it with others. Alternatively, right-click and hit ‘Paste.’
Method 2: Windows + Shift + S
This method is simply a shortcut to the Snipping Tool. Simultaneously press Windows + Shift + S, and whatever you capture will be copied to your clipboard. Then, you can either paste the image by pressing Ctrl + V or view it to edit and save your snapshot.
Method 3: Snipping Tool
Snipping Tool is quite an excellent built-in feature that enables you to select how much of the screen you want to capture.
- Go to the Start Menu and type ‘Snipping Tool’ in the search bar.
- Launch the app to see a variety of options at your disposal.
- Click on ‘New’ or ‘Ctrl + N.’ You can choose your desired shape of the screenshot from the number of modes Snipping Tool offers.
Editor’s picks:

Daniel Barrett
Author
Daniel Barrett is a tech writer focusing on IoT, gadgets, software, and cryptocurrencies. With a keen interest in emerging technologies, Daniel offers expert analysis and commentary on industry trends. Follow him for authoritative insights into the latest tech innovations.
Latest Articles
Popular Articles