How To Bypass Google Verification On Android Phones
Factory Reset Protection or FRP - In this quick guide, we'll discuss how to bypass Google verification on Android phones. Read more.
Author:Daniel BarrettMay 21, 2022175K Shares2.9M Views
How To Bypass Google Verification– Before AndroidOS version 5.1 (Lollipop), anyone who found your device could easily bypass the lock (numerical PIN or pattern) with a quick factory reset.
To fix this, Google introduced Google verification or Factory Reset Protection.
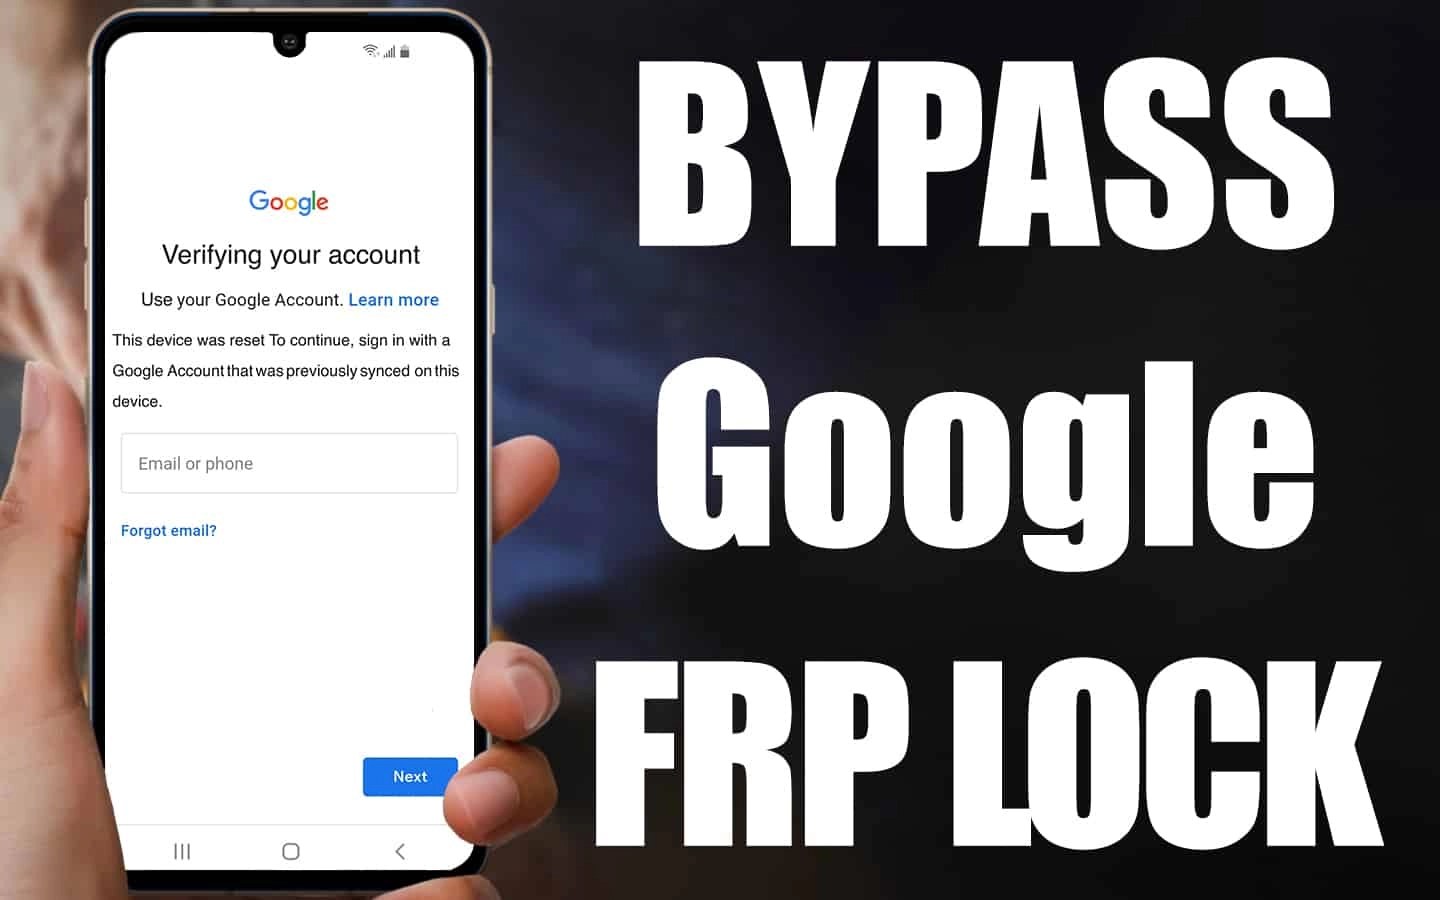
Factory Reset Protection or FRP is a security feature that helps ensure that your data is protected even if your phone is lost or stolen by maintaining your data, even in a reset. And you have to go through Google’s verification process to reap the benefits of FRP.
That’s fine if you remember the Google login info you used to set up your device. But if you don’t, or that account isn’t active anymore, verification is more of a problem than a useful security feature. Still, there are ways to bypass Google verification, either by disabling FRP or resetting your device.
How to Disable FRP to Bypass Google Account Verification
FRP is automatically enabled once you sign in to your phone using your Google account. All you need to do is remove the Google account from your Android device to disable it.
Deactivating FRP is probably the easiest solution available to bypass Google verification. You should always do it if you plan to sell or give away your phone, or if you’re buying a second-hand device, check that the seller has removed their account before you buy.
- Go to Settings.
- Tap Cloud and accounts (or Accounts on some brands).
- Select Accounts.
- Navigate to your Google account and tap on Remove account.
- Verify you want to remove your account by tapping on Remove account
- Go to Google Account Android
- Remove Google account
Resetting your device
Depending on your device, the option to disable FRP may not be directly accessible to you. In that case, doing a factory reset is your best option to bypass Google’s verification requirement.
Before starting, it’s important to note that this process will wipe all of your data from the device, restoring it to factory settings. So, make sure you back up your data beforehand.
Here’s how to get it done:
- Go to your settings.
- Select “System” then “Advanced” (or, if you don’t see “Advanced,” skip to the next step).
- Tap “Reset options” (or your device may say “Factory data reset” — if so, select that option), and then select either “reset phone” or “reset the tablet,” depending on your device.
- Go through the reset process until you reach the Google verification page, then press the back button to get to the Wireless Network screen.
- Tap “Add Network” and enter a random string of letters and numbers in the Network Name (or SSID) section.
- Tap and hold down on that sequence you just wrote, select “Share,” and select “Gmail” from your sharing options.
- Next, tap “Notification” and then “App Settings.”
- Open the menu (three stacked lines) in the upper-right corner and tap “Account.”
- Next, you should see a prompt to go to “Settings;” if you’re prompted for verification, select “Continue.”
- Under “Settings,” select “Backup and Reset” followed by “Factory Data Reset.”
One more thing to note about the above process is that, since this method removes your Google account from your device, you will be logged out of some apps if you were logged in through that account.
Editor’s picks:
- How To Remove A Credit Card From Google Play On Android
- How To Fix It When Google Play Services Keeps Stopping
- The Best Jokes, Games, And Easter Eggs For Google Assistant
- How To Block Unknown/Private Numbers On Android
- How To Fix Google Pixel 2 Not Charging
- 10 Cheap Android TV Boxes You Can Buy Right Now
- How To Delete An Unwanted Page In Google Docs

Daniel Barrett
Author
Daniel Barrett is a tech writer focusing on IoT, gadgets, software, and cryptocurrencies. With a keen interest in emerging technologies, Daniel offers expert analysis and commentary on industry trends. Follow him for authoritative insights into the latest tech innovations.
Latest Articles
Popular Articles