How To Charge Nintendo Switch Controllers
In this walkthrough, we will be guiding you through on how to charge Nintendo Switch controllers. Click the link to read full guide.
Author:Daniel BarrettMay 27, 202211541 Shares372302 Views
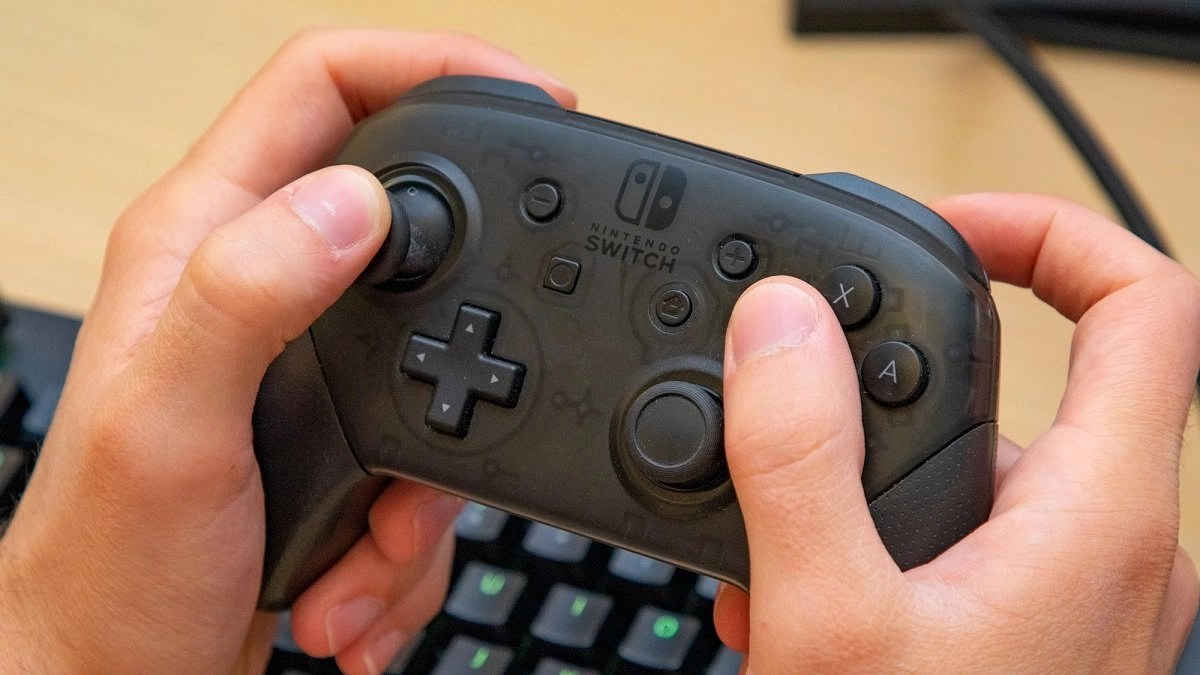
We all know that devices like controllers need to be charged to use. But not everyone knows that there are things to factor in and consider when it comes to charging a Nintendo Switch controller. In this walkthrough, we will guide you through how to charge Nintendo Switch controllers.
Furthermore, the Nintendo Switch has so many ways to play that it can be tricky to stay on top of what’s charged and what isn’t. If you only use it in handheld mode (or have the less versatile Switch Lite), it’s relatively simple to stay on top of charge levels. Still, if you mix and match TV output, tabletop mode, and handheld play, then it’s vital to ensure everything has plenty of charge when you need it.
Did you know that charging your Nintendo Switch controllers often depends on which pad you use? The bundled Joy-Cons should last about 20 hours each when fully charged. The excellent Switch Pro controller has even more legendary stamina, offering up to 40 hours of play time.
Don’t miss: Best tablet with keyboard in 2021
Each pad charges differently. And while Nintendo includes everything you need to charge the official controllers in the box, it also sells additional hardwareto make it more convenient.
Connect the controllers to the console
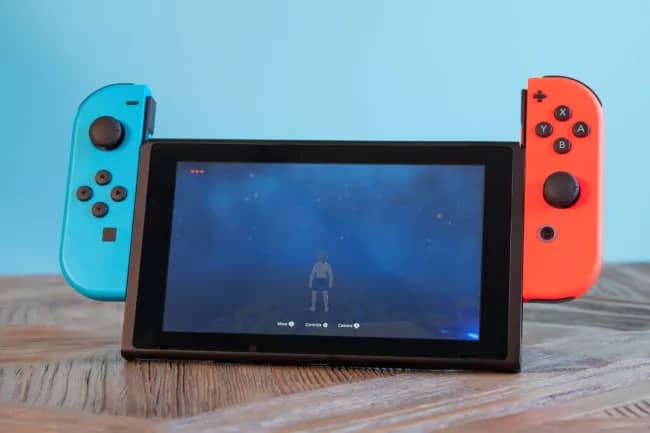
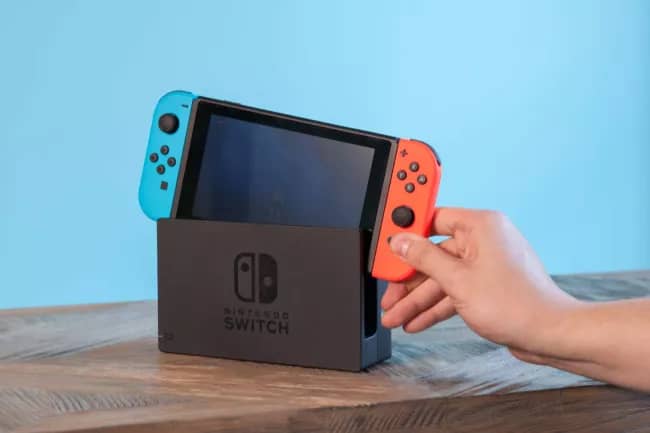
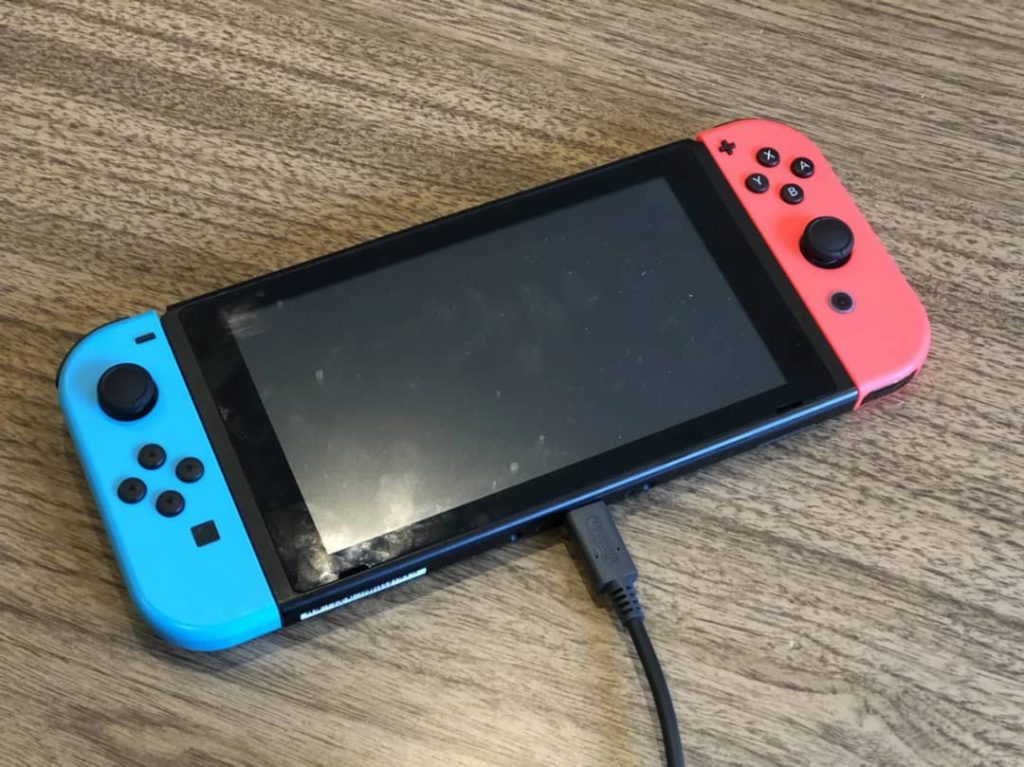
The easiest way to charge the Joy-Con controllers is to connect them to the Nintendo Switch console while the unit is connected to the AC power unit that comes with the console.
You can accomplish this by resting the console in its dock when you’re not using it (as pictured above). Or by connecting the Switch to power directly when you use its built-in screen for play (as pictured below).
The Joy-Con controllers will take about 4 hours to fully charge when plugged in and not in use. This charge should last for about 20 hours of use.
If you connect the controllers to a Switch console that is not plugged into power, the Joy-Cons will be charged to about half power or until the Switch’s battery runs low, whichever happens first.
Connect the controllers to a charging grip
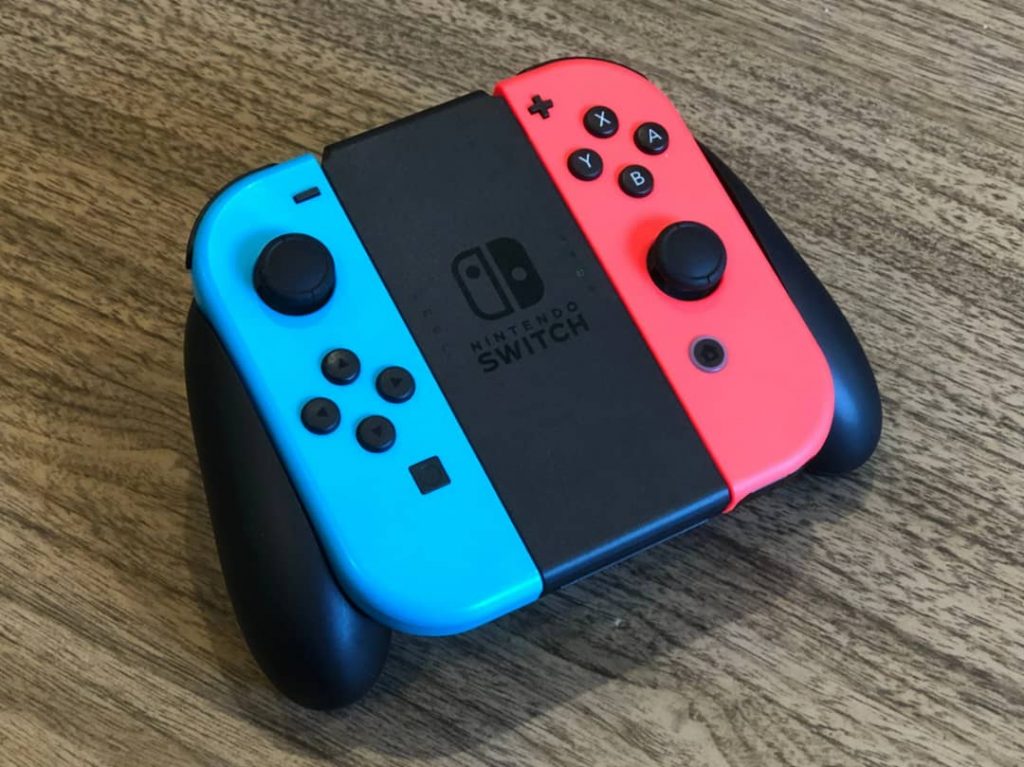
For those who like to play on a TV and charge simultaneously, you would need to get a charging grip separately.
You can connect this controller grip to your AC power unit. It will charge the Joy-Cons even as you use them on another display.
Also read: 20 Coolest PC Cases You Can Buy In 2021
Things to Note
Here are a few other things to consider to keep your controller life healthy.
Buy a Charging Grip:
The Joy-Con Charging Grip is retailed separately for $29.99. It allows you to charge your Joy-Con controllers when not attached to your Switch via a USB cable that connects to your Switch dock. The standard Joy-Con Grip that comes with your console cannot charge your controllers.
Buy a Joy-Con or Pro Controller charging dock:
A Charging Dock is advised if you have more than one set of Joy-Con controllers. The recommended one is the officially licensed PowerA Joy-Con Charging Dock. This can charge two sets of Joy-Con controllers at once.PowerA also has a Joy-Con and Pro Controller dock that can simultaneously charge a Pro Controller and a single set of Joy-Cons.
Keep your controllers charging when not in use:
Avoid leaving your Joy-Con controllers lying around in a standard Grip or sitting apart on a coffee table. Even your Pro Controller disconnected from its USB cable. Instead, slide the Joy-Con controllers onto your Switch or into a Charging Grip. Then plug the USB cable into your Pro Controller so you don’t lose power unexpectedly the next time you play. This is also true of the Switch itself. Leave the system in the dock when not used to keep its battery charged for later.
Know your third-party controllers:
There are different wireless third-party controller options for the Switch. Also, many of them use different charging methods.
- The PowerA Enhanced Wireless Controller uses two AA batteries instead of a charger.
- 8Bitdo controllers use a mix of USB connections — the latest SN30 charges over micro-USB.
- SN30 Pro charges via the same USB-C connection as the Pro Controller.
Editor’s picks:

Daniel Barrett
Author
Latest Articles
Popular Articles
