How to take a screenshot on iPhone XS and XS Max
Take a screenshot on iPhone XS, XS Max - Taking a screenshot on the iPhone XS and iPhone XS Max hasn’t changed much if you’re coming from an iPhone X
Author:Daniel BarrettMay 30, 202246.5K Shares895.1K Views

Prior to the iPhone X, taking a screenshot on iPhonehad been the same for generations of the device. You’d simply press the power and home button together briefly, and just like that, a screenshot was taken and saved in your gallery.
Taking a screenshot on the iPhone XS and iPhone XS Max hasn’t changed much if you’re coming from an iPhone X, but if you’re upgrading from an iPhone 8or older iPhone model then the method is different due to the lack of the Home button.
Here’s how to take a screenshot on the iPhone X, XS, XS Max and XR.
To take a screenshot on the iPhone XS or XS Max, press the Volume up and Side button (previously known as Sleep/Wake button) simultaneously. and button together.
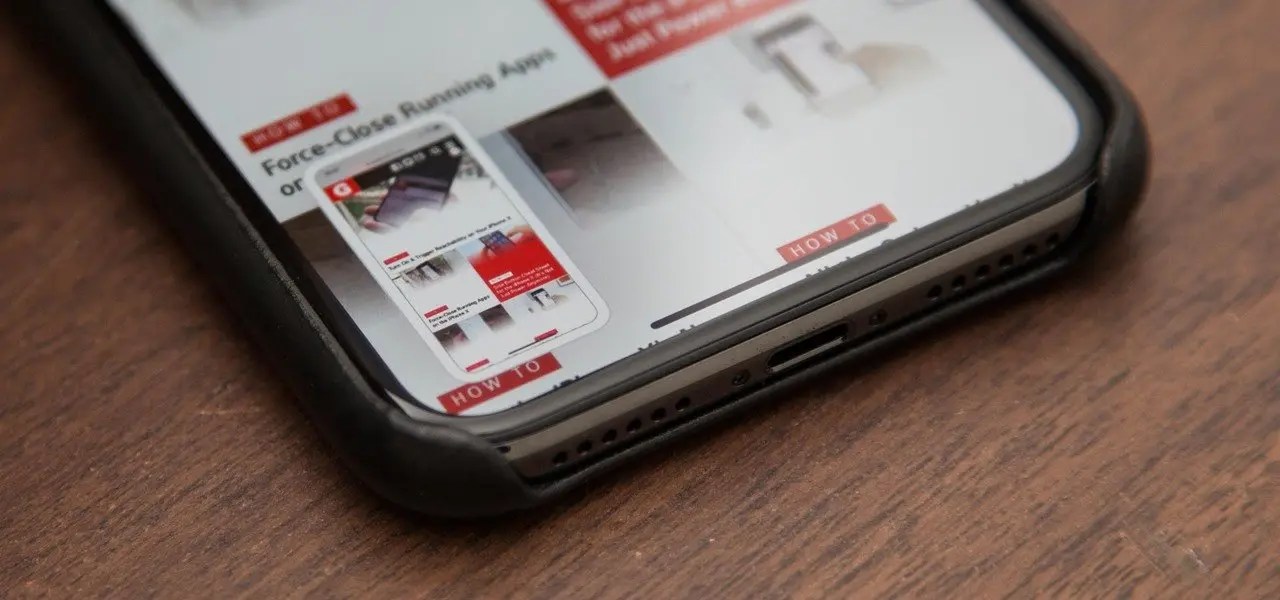
Pressing both at the same time will save an image of the screen and show you a preview in the bottom left hand corner. If you don’t want to edit it or mark it up, just swipe it away or do nothing, and it’ll save a copy in your Photos app, under the screenshots category.
How to take a screenshot on iPhone XS or iPhone XS Max Using Assistive Touch
If you need or want to take a screenshot with only one hand, you can do so with Assistive Touch.
Step 1: Enable Assistive Touch
You can enable Assistive Touch by launching the Settings app and navigating to General -> Accessibility -> Assistive Touch and toggle Assistive Touch ON. You will see a semi-transparent button added to your screen. This is the Assistive Touch button.
Step 2: Customize Top Level Menu
- Tap on the Customize Top Level Menu.
- Then tap the Custom icon (the one with the star), and select Screenshot from the list. The screenshot button will be added to the Assistive Touch Menu. You can also tap on any of the default icons to replace it with the Screenshot button, or any other option from the list.
Step 3: Take Screenshot With Assistive Touch
With the screenshot option added to your Assistive Touch menu, we can take a one-handed screenshot anytime by tapping on the Assistive Touch button followed by the screenshot button.
And just like before, the screen will flash white, you’ll hear the camera shutter sound, and your screenshot will be saved in Photos.
How to Edit Screenshot
If you’ve taken the screenshot but want to edit it or mark it up in anyway, then you can tap on the preview image at the bottom left of the screen.
Here you’ll get a number of markup tools enabling you to scribble on the screenshot or crop it to the shape you want.
There’s pen, marker, pencil, rubber, lasso for cutting out, and color palette options. You can also press the + symbol to get more tools like Text, Signature, a Magnifier, and predefined shapes like circles and squares.
Saving and sharing
You can save the screenshot or delete it, for that matter, at any point by clicking on the word “Done” at the top left of the screen. Here you get the option to Save to Photos or Delete Screenshot.
If you want to share the screenshot with someone else or save it to Files you can press the Share icon and then choose the relevant service.
Once you’ve saved it or sent it, you can click on Done and delete the screenshot if you don’t want it anymore.
How to View Screenshots on iPhone XS and iPhone XS Max
You can find all your screenshots in the Screenshots album via the Photos app. This album, like the Selfies album, is auto-created. Every screenshot you take will be added to this album automatically. Just open the Photos app, tap on the Albums tab, and you will find the Screenshots album in the list.
Editor’s recommendations:

Daniel Barrett
Author
Daniel Barrett is a tech writer focusing on IoT, gadgets, software, and cryptocurrencies. With a keen interest in emerging technologies, Daniel offers expert analysis and commentary on industry trends. Follow him for authoritative insights into the latest tech innovations.
Latest Articles
Popular Articles