Fix AirPods Case Not Charging - 8 Quick Solutions For Seamless Charging
In this article, we'll delve into eight quick and effective solutions to fix AirPods case not charging problems. Let's dive into the troubleshooting journey and get your AirPods case back to powering your music, hassle-free.
Author:Daniel BarrettJan 22, 2024163K Shares2.4M Views

Are you facing the frustrating issue of your AirPods case not charging? Nothing disrupts the seamless experience of wireless earbuds like a charging hiccup. But fear not!
In this article, we'll delve into eight quick and effective solutions to fix AirPods case not chargingproblems. Let's dive into the troubleshooting journey and get your AirPods case back to powering your music, hassle-free.
Common Reasons For AirPods Case Not Charging
Charging issues with AirPods cases can stem from various factors, and understanding these common reasons is crucial for effective troubleshooting. Here are some frequent culprits:
Battery Issues
One of the primary reasons for the AirPods case not charging relates to battery-related issues. It is crucial to consider both the case and the AirPods themselves when troubleshooting these problems.
Firstly, low battery levels can be a straightforward explanation. Both the AirPods case and the AirPods have their batteries, and if either is critically low on power, charging issues can arise. Users should ensure that both the case and the individual AirPods are adequately charged before exploring other solutions.
Moreover, as with any rechargeable device, the batteries within AirPods and their case degrade over time due to regular use. If the battery in the case is no longer capable of holding a charge effectively, users might encounter difficulties in charging their AirPods. In such cases, replacing the aging battery becomes a potential solution to restore optimal charging functionality.
It's worth noting that monitoring battery healthand charging habits can contribute to the longevity of AirPods' batteries. Regularly charging the devices before they reach critically low levels and avoiding extreme temperatures can help maintain battery performance. However, when faced with persistent charging issues, it's essential to consider both low battery levels and potential battery degradation as contributing factors and address them accordingly.
Charging Cable Problems
Another common factor contributing to AirPods case charging issues lies in the condition of the charging cable. The cable serves as the vital link between the power source and the AirPods case, and any issues with it can disrupt the charging process.
Firstly, users should carefully inspect the charging cable for any visible signs of damage. Frayed or damaged cables can compromise the flow of electricity, leading to intermittent or ineffective charging. If any damage is detected, replacing the charging cable with a new, undamaged one is a straightforward solution.
Compatibility is also a critical consideration. While Apple's charging cables are designed to work seamlessly with their devices, using third-party or non-certified cables may lead to compatibility issues. Apple-certified cables ensure optimal performance and compatibility with AirPods and their case. Therefore, users experiencing charging problems should verify that they are using an authentic and compatible charging cable.
In addition to physical damage, the connection points on the cable, particularly the Lightning connector, should be free from debris or dirt. Over time, these connectors can accumulate dust, affecting the connection between the cable and the AirPods case. Regularly inspecting and cleaning the charging cable can prevent such issues and maintain a reliable charging connection.
Dust And Debris Accumulation
Dust and debris accumulation represent a common yet often overlooked cause of AirPods case charging issues. The charging ports on both the AirPods case and the AirPods themselves are susceptible to foreign particles, which can impede the charging process.
Over time, it's not uncommon for lint, dust, or other small debris to find its way into the charging ports. When this occurs, the connection between the charging cable and the device may be hindered, leading to ineffective charging. Users encountering charging problems should inspect the charging ports for any visible debris and promptly clean them.
A soft brush or compressed air can be valuable tools for cleaning charging ports without causing damage. By gently brushing or blowing away accumulated dust, users can ensure a clear and unobstructed pathway for the charging cable to establish a solid connection.
Regular maintenance is key to preventing dust and debris-related charging issues. Periodic checks of the charging ports, especially after exposing the AirPods to environments where particles may be present, can help users identify and address this common problem early on. By incorporating these simple cleaning practices into regular device care, users can mitigate the impact of dust and debris accumulation on their AirPods charging performance.
Software Glitches
Software glitches represent a more intangible yet significant factor contributing to AirPods case charging issues. The seamless interaction between hardwareand software is crucial for the proper functioning of any electronic device, and AirPods are no exception.
One common manifestation of software-related charging problems is firmware issues. The firmware of the AirPods and their case can occasionally encounter bugs or glitches that affect the charging process. Ensuring that both the AirPods and the connected iOS device have the latest firmware updates can be a simple yet effective solution. Regularly checking for and applying firmware updates through the iOS device settings can address potential software-related issues.
Connectivity problems can also arise as a result of software glitches. If the AirPods fail to establish a stable Bluetooth connection with the paired iOS device, it can impact the charging process. Troubleshooting steps such as restarting the AirPods, unpairing and re-pairing them, or restarting the connected iOS device can help resolve connectivity-related software issues.
In summary, while less tangible than physical components, software glitches can significantly impact the charging functionality of AirPods cases. Keeping both the AirPods and the connected iOS device updated and performing routine troubleshooting steps for software-related issues can help maintain a smooth charging experience.
Quick Troubleshooting
Before we jump into the troubleshooting steps, it’s good to know how to read the charging signals on the AirPods case, especially if you’re new to the device.
First, look for the charging status light. When you first plug the case in, you should see the charging light come on (but it’ll go off automatically after about 10 seconds, and that’s okay).
Quick Fix 1 - Check Your Connections
If you have AirPods or AirPods Pro, ensure that the Lightning to USB cable is plugged firmly into the case and the USB power adapter. Then make sure that the power adapter is plugged correctly into a power outlet.
If you’re using a Qi-compatible charger with your device, ensure that the cable is plugged firmly into the charger and the other end is plugged in correctly into a power outlet.
Quick Fix 2 - Charge Your AirPods
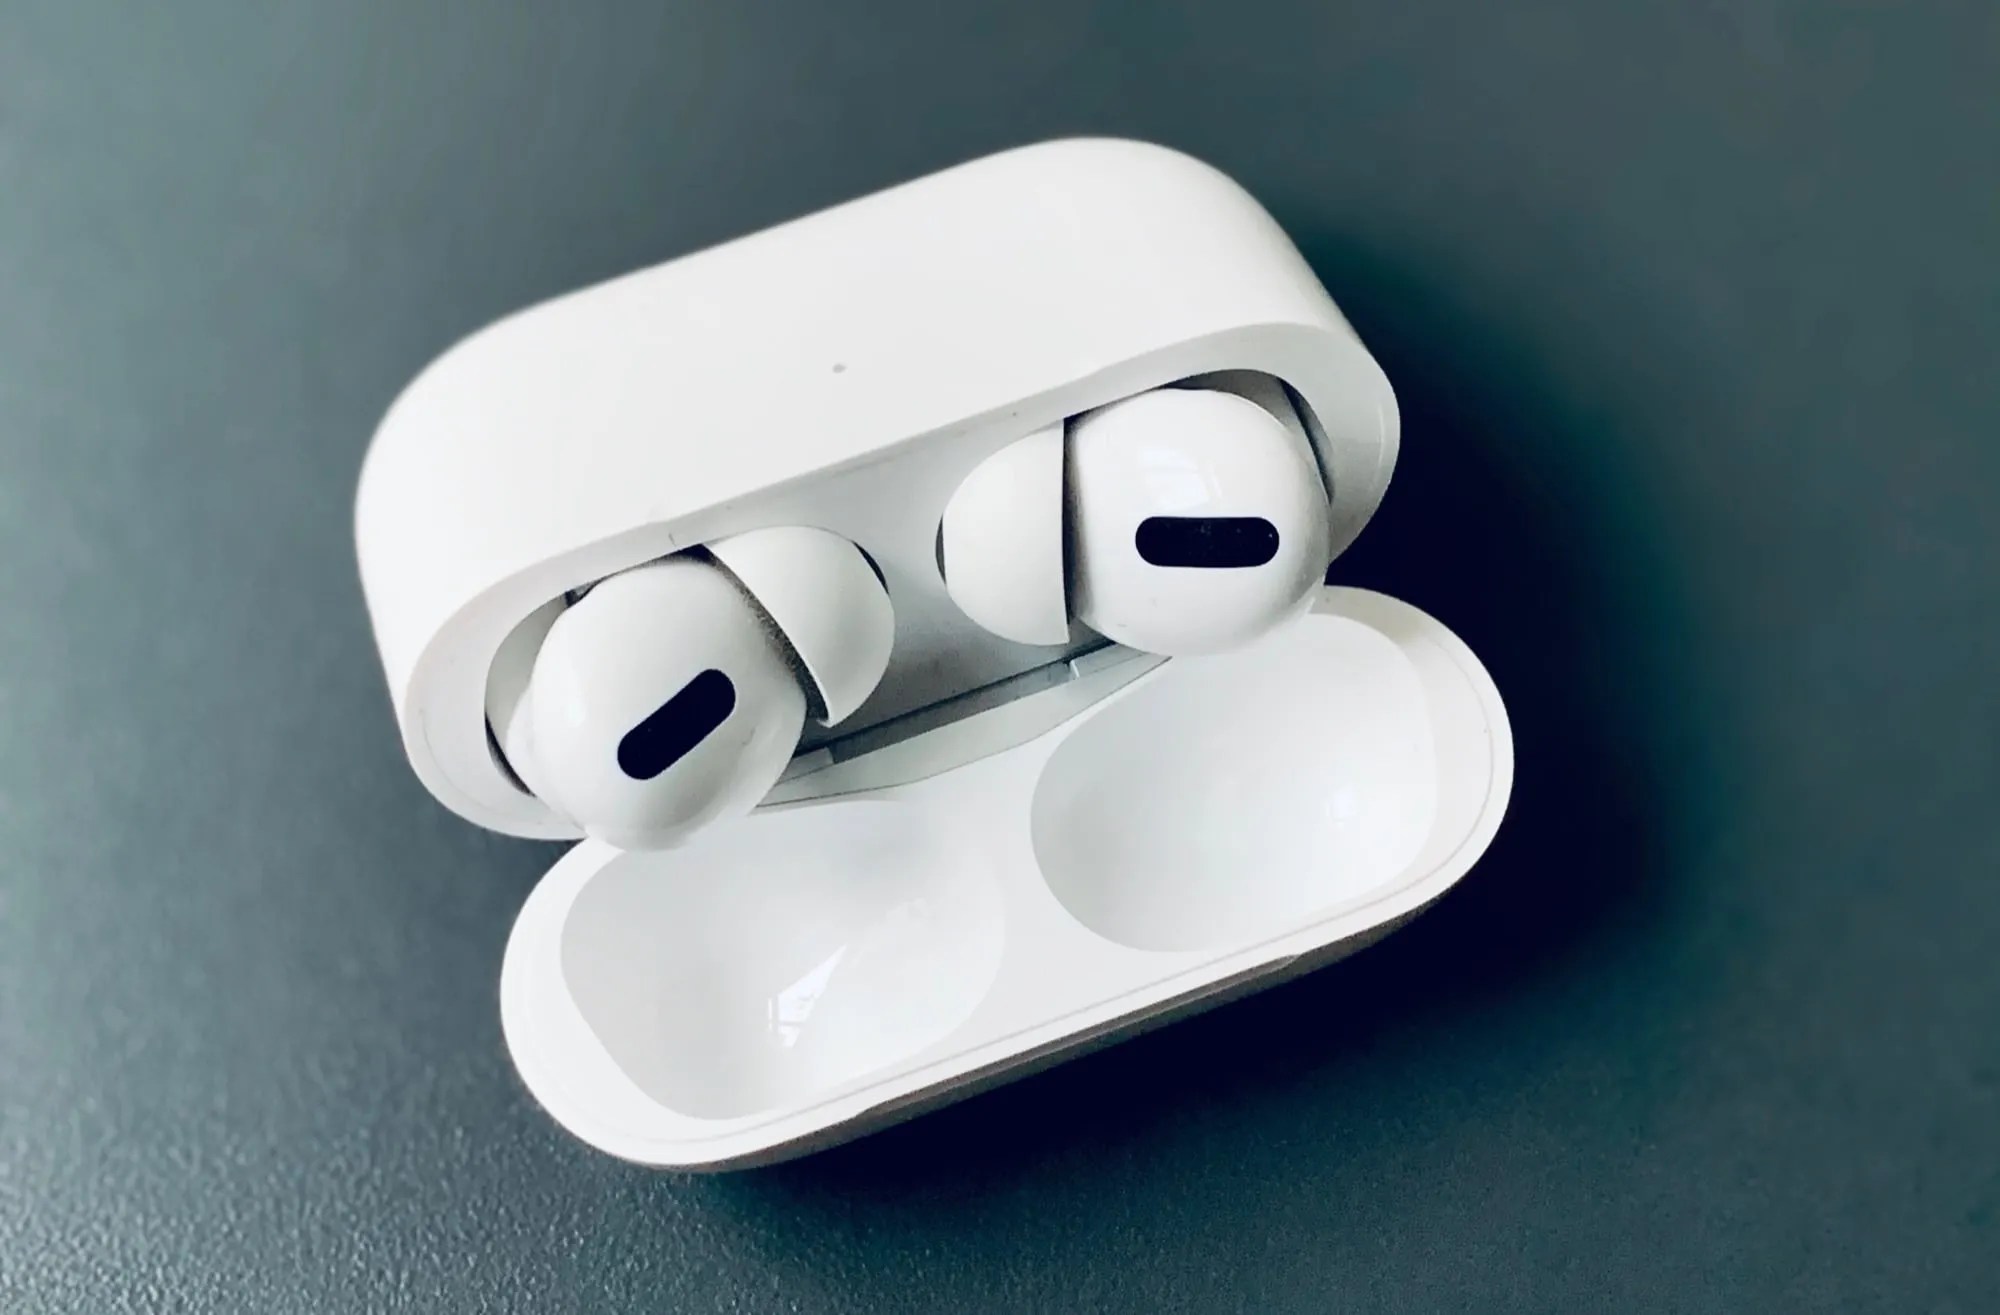
Put your AirPods in their case to charge them if you haven’t done so in a while, even if you thought you did. So, to be sure, drop the AirPods into the case and wait to see if the charging light comes on. If it does, there might not be anything wrong with your AirPods.
Place your AirPods in the charging case and close the lid. Charge your AirPods and case for at least 15 minutes using the original cable of your AirPods.
If you have the Wireless Charging Case for your AirPods or AirPods Pro and use a Qi-compatible charger, place the case with the status light facing up. The status light should turn on for several seconds, then turn off while continuing to charge. If the light doesn’t turn on, reposition the case.
Quick Fix 3 - Charge The Charging Case
It may be a mouthful, but the charging case needs to be charged to charge your AirPods. To make sure the charging cable is charging, follow the steps below.
- Plug a lightning cable into the lightning connector on your Charging Case
- Place the other end of the Lightning cable into a USB port or wall charger
- It may take a few hours to charge your Charging Case fully.
Quick Fix 4 - Clean The Case’s Charging Port
In this situation, the next thing you can do is clean your AirPods case charging port. Charging ports are notorious for getting lint and dirt stuck in them, especially if you always keep the case in your Jeans - Jeans always have lint at the bottom of the pockets.
Before cleaning the case, make sure you don’t use anything wet or metal because this can cause a short circuit, breaking your AirPods case.
To clean the charging port:
- Get a static brush or toothpick
- Scrape the dirt out
- Connect your lightning cable to the case, and it should charge
For a more in-depth tutorial on this, read How To Clean Your AirPods And Their Case
Quick Fix 5 - Use A Different Cable
If your case still isn’t charging, try charging with the cable that came with your case. If you’re using a cable that isn’t MFI certified, this may be causing the problem.
Fake cables don’t have good connectivity capabilities compared to MFI-certified cables. Once you’ve switched the lightning cables, you should check if you can charge your lightning case.
Quick Fix 6 - Don’t Use An Extension
If you’re using an extension to charge your Airpod case, it might cause a charging issue as the extension might not get adequate power or be defective. To eliminate any doubts, try switching to a wall socket.
Once you’ve plugged your charger into a wall socket, the case should start charging. If not, try the following troubleshooting tip.
Quick Fix 7 - Update Your AirPods Firmware
Updating your AirPods firmware is an effective way to fix software-related issues. However, if it’s been a while since you updated your AirPods firmware, you may have missed an update, which could be the culprit. So first, try updating the firmware, and then go through the steps above to see if your AirPod will charge.
If you run through those steps and your AirPods are still not charging, there may be a problem with the AirPods case.
Quick Fix 8 - Reset Your AirPods Case
If the steps above have not solved your charging problems, you may need to reset your AirPods. It’s worth pointing out that when you factory reset your AirPods, you will lose any of your saved settings.
To reset the AirPods case:
- First, open the Settings app on your iPhone.
- Next, tap Bluetooth.
- Tap the i icon next to the AirPods you need to reset.
- Then, tap Forget This Device.
- Finally, tap Forget Device to confirm.
- Now, Put your AirPods in their case.
- Next, close the lid, wait 30 seconds, then open the lid.
- Finally, press and hold the Setup button on the back of the AirPods case.
- The status light on the case will flash amber, then white to indicate that the AirPods have been reset.
Now, your AirPods are restored to the factory setting, and they can now be connected to any iPhone.
Contact Apple Customer Service
Finally, contact Apple customer service if none of the above fixes worked for you. You might have a hardware problem, and the case may need replacement. These problems are more common than people think, so they’ll probably know how to fix them, or if not, you might get a new replacement as long as you’re under warranty.
Preventive Measures
To ensure a consistently smooth charging experience for your AirPods case, adopting preventive measures becomes crucial. Proactive care and maintenance can help avoid common issues and extend the overall lifespan of your AirPods. Here are some effective preventive measures:
Proper Maintenance Tips
Regularly inspect and clean the charging ports of both the AirPods case and the AirPods themselves. Use a soft brush or compressed air to remove accumulated dust and debris. Maintaining a clean and unobstructed charging port ensures a reliable connection with the charging cable.
Regular Software Updates
Stay vigilant about firmware updates for your AirPods and the connected iOS device. Manufacturers often release updates to address bugs, improve performance, and enhance compatibility. Regularly check for and apply these updates to keep your devices running smoothly and prevent potential software-related charging issues.
Using Compatible Accessories
Opt for Apple-certified charging cables and accessories. Non-certified cables may not provide the necessary compatibility, leading to charging problems. Investing in genuine Apple accessories ensures a secure and efficient charging connection, minimizing the risk of compatibility-related issues.
AirPods Case Not Charging? - FAQ
How Do I Reset My AirPod Charging Case?
Check if the charging case is charged and that the AirPods are placed correctly in the case. Also, try resetting the charging case by pressing and holding the button on the back until the status light flashes.
How Do I Know If AirPod Case Is Charging?
The status light should show the current charge level for 8 seconds. If you have AirPods Pro (1st or 2nd generation) or AirPods (3rd generation), you can tap the case when it's on the charging mat to see whether your AirPods Pro or AirPods (3rd generation) are charging (amber light) or fully charged (green light).
How Do You Revive A Dead AirPod Case?
A common issue with AirPods is when the AirPods charge but the charging case no longer holds any charge. If your AirPods case is dead and won't charge, drain the battery to 0% or no status light shows and charge the case again. You can also reset your AirPod case.
Conclusion
The vexing problem of an AirPods case not charging can be a minor roadblock or a major inconvenience, depending on how swiftly and effectively it's addressed. Armed with the insights provided in this guide, you are now equipped with eight quick solutions to fix AirPods case-not-charging issues. By incorporating these troubleshooting steps into your routine and following preventive measures, you'll ensure a continuous and reliable charging experience for your AirPods case. Happy listening!
In this article, we'll delve into eight quick and effective solutions to fix AirPods case not chargingproblems. Let's dive into the troubleshooting journey and get your AirPods case back to powering your music, hassle-free.

Daniel Barrett
Author
Daniel Barrett is a tech writer focusing on IoT, gadgets, software, and cryptocurrencies. With a keen interest in emerging technologies, Daniel offers expert analysis and commentary on industry trends. Follow him for authoritative insights into the latest tech innovations.
Latest Articles
Popular Articles

