How to schedule a text message on your iPhone
Learn how to schedule a text message, without you having to worry about sending the text at a given time. Click to read more
Author:Daniel BarrettMay 30, 2022898 Shares898.1K Views
In what manner can scheduled text messages make your life simpler?
They can allow you to plan every day, week by week, or even month to month reminders that keep your family, friends, or associates on time — without you having to worry about sending the reminders at a given time.
A scheduled text message can ensure you never forget a birthday or anniversary greeting when scheduled yearly.
Although, there is no built-in message scheduling feature on your iPhone. But with the Scheduled application on the iPhone, you can compose your writings now and send them at a later time and date of your choosing.
To use the app to automatically send your scheduled messages, you’ll need to fork out $3.49 every month. Otherwise, the free version of the app will remind you to manually send your scheduled text message at the time you choose.
Also read:How to easily delete Instagram messages
How to schedule a text message on your iPhone
Step 1: Download the Scheduled app on your iPhone and follow the setup instructions on your screen. Select the paid Premium plan if you want it to send your scheduled texts automatically, or simply pick the free version if you’d like to receive a reminder when it’s time to send your scheduled text.
Step 2: During setup, allow the app to access your contacts list.
Step 3: On the Scheduled home screen, tap the plus (+) symbol at the bottom of the screen to create a new scheduled text.
Step 4: Select the platforms with which you will send the message at the top of the screen, then enter the contact (or contacts) to whom the message will go using the “To” field.
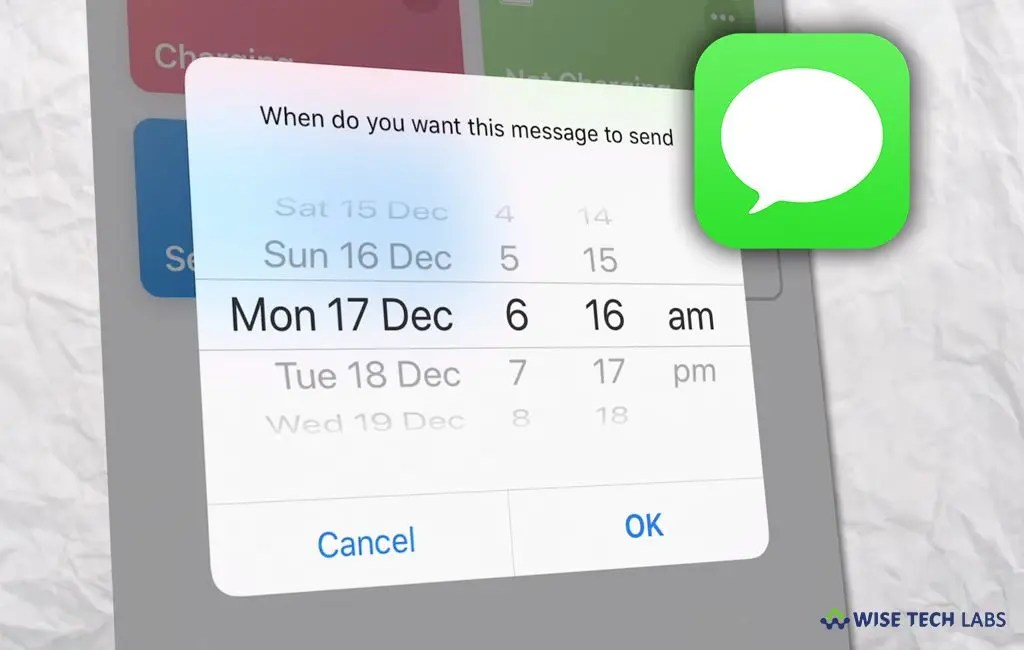
Step 5: Enter your text, add a photo if you wish, then tap “Schedule date” and select the time and date you wan the message to be sent.
Step 6: “Don’t repeat” is the default setting; to create a message that will be sent periodically, tap “Repeat” and select the appropriate option.
Step 7: Tap the “Reminder” box if you’re using the free version of the app, or if you don’t want it to auto-send and would rather have a chance to send it yourself at the set time. Tap “Send automatically” if you have a Premium plan and want the app to do the sending.
Step 8: Tap “Timetable MESSAGE” at the lower part of the screen, and you’re good to go.
Editor’s recommendations:

Daniel Barrett
Author
Daniel Barrett is a tech writer focusing on IoT, gadgets, software, and cryptocurrencies. With a keen interest in emerging technologies, Daniel offers expert analysis and commentary on industry trends. Follow him for authoritative insights into the latest tech innovations.
Latest Articles
Popular Articles