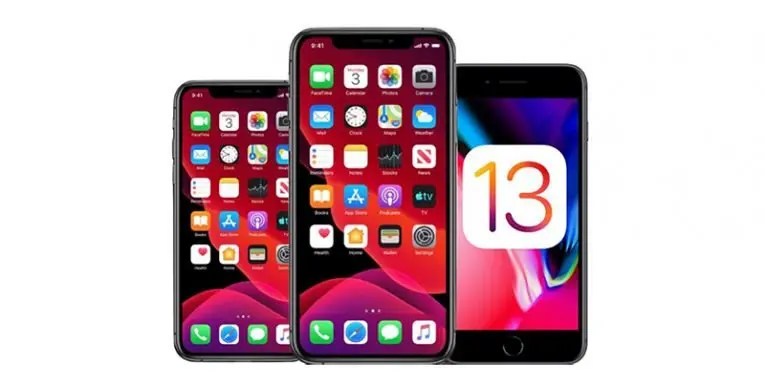
How to downgrade from iOS 13 to iOS 12 on your iPhone
How to downgrade from iOS 13 to iOS 12. Remember to make sure you have an archived copy of the previous version of iOS or these steps...
Author:Daniel BarrettAug 31, 2022183.4K Shares3.7M Views

How to downgrade from iOS 13 to iOS 12
Upgrading your phone’s iOS usually means you get some new features, if you upgrade on an older iPhoneor are using older apps, it can be frustrating.
First up, you should know that unlike the upgrade process where all your data remains intact, downgrading iOS will require you to completely wipe your phone – all your contacts, photos, apps and everything else will be deleted.
While it will be possible to restore from a backup once you’re running the old version of iOS again, you won’t be able to restore from a backup you made while running the newer one. If your device has automatically backed up via iCloud since you’ve upgraded, you won’t be able to access any of your data after downgrading.
If you’re downgrading your iPhone because it’s running slowly, the reason might actually be a lack of storage. You should try cleaning up your photo library with Gemini Photos. The app scans for duplicate photos and similar pictures to get rid of the clutter slowing down your iPhone.
Remember to make sure you have an archived copy of the previous version of iOS or these steps won’t matter.
Note: If you’re reading this article on the iPhone you want to revert, either print it out first or open it on another iPhone, iPad, or computer so that you can read along as you go.
The first thing to do is turn off Find My iPhone. Go to Settings > Find My > Find My iPhone and toggle it off.
Then download the iPhone software (or the .ipsw file) to your computer. The .ipsw is different depending on which model of iPhone you have.
To get started, you’ll need to put your iPhone, iPad, or iPod touch into Recovery Mode.
- Turn your iPhone off.
- Connect it to your computer using the Lighting cable.
- Press and hold the button(s) below, depending on your phone.
- Once you see the Recovery Mode icon on your iPhone, launch iTunes on your computer.
- iTunes will prompt you to restore. Hold down Option and click Restore iPhone.
- A file browser will pop up. From there, locate the .ipsw file you downloaded.
- Click Open.
- You’ll see a popup confirming the restore. Click Restore.
Now, leave your iPhone plugged in until the restore completes.
If for some reason, Recovery Mode doesn’t work, you can also try putting your iPhone or iPad into DFU mode. Device Firmware Update mode is a little trickier to get into, but will often force a restore even when nothing else works.
After your iPhone reboots and the restore is complete, you’ll have the choice to set it up as a new phone or restore from an archived backup of iOS 12. If you’d like to do the latter, keep your iPhone connected to your computer, then follow the steps below.
- Follow the prompts on your iPhone until it asks you about restoring your data.
- Select Restore from this backup in iTunes (or Finder in macOS Catalina).
- Choose the archived backup you made before installing the beta software update.
Now your iPhone should be back to where it was before you installed iOS 13.
If your device reboots to iOS 13 before the download is complete, simply repeat the steps above and put it back into Recovery Mode. Once the download is complete, your iPhone, iPad, or iPod touch will be restored to the older version of iOS.
If you run into any trouble or have any questions, ask away in the comments!
Editor’s picks:

Daniel Barrett
Author
Daniel Barrett is a tech writer focusing on IoT, gadgets, software, and cryptocurrencies. With a keen interest in emerging technologies, Daniel offers expert analysis and commentary on industry trends. Follow him for authoritative insights into the latest tech innovations.
Latest Articles
Popular Articles