How to Easily Disable and Re-enable DHCP in Windows
In this article, we'll explain how to easily disable and re-enable Dynamic Host Configuration Protocol (DHCP) in Windows. We'll also discuss some...
Author:Daniel BarrettMay 30, 202229892 Shares711724 Views
This article will explain how to disable and re-enable DHCP in Windows 10.
What is DHCP?
Dynamic Host Configuration Protocol (DHCP) is a client/server protocol that automatically provides an Internet Protocol (IP) host with its IP address and other related configuration information. These include the subnet mask and default gateway.
You may need to disable or enable DHCP for advanced internet connection troubleshooting.
Disabling DHCP in Windows
As stated earlier, if you’re running a typical home network, then your devices receive their IP addresses through the Dynamic Host Configuration Protocol. This means they’re assigned an IP address when they connect to the network and may receive a completely different IP address the next time you want to connect to the internet.
Before we get started, it’s quick and easy to find out if DHCP is enabled, so let’s save some time here. First, open the command prompt or PowerShell and type in ipconfig /all. Next, find your adapter and look for the Yes or No next to DHCP Enabled.
Now that you know how to check DHCP status let’s explain how to enable or disable it manually.
How to Disable DHCP for Windows
To turn off DHCP for a connection in Windows:
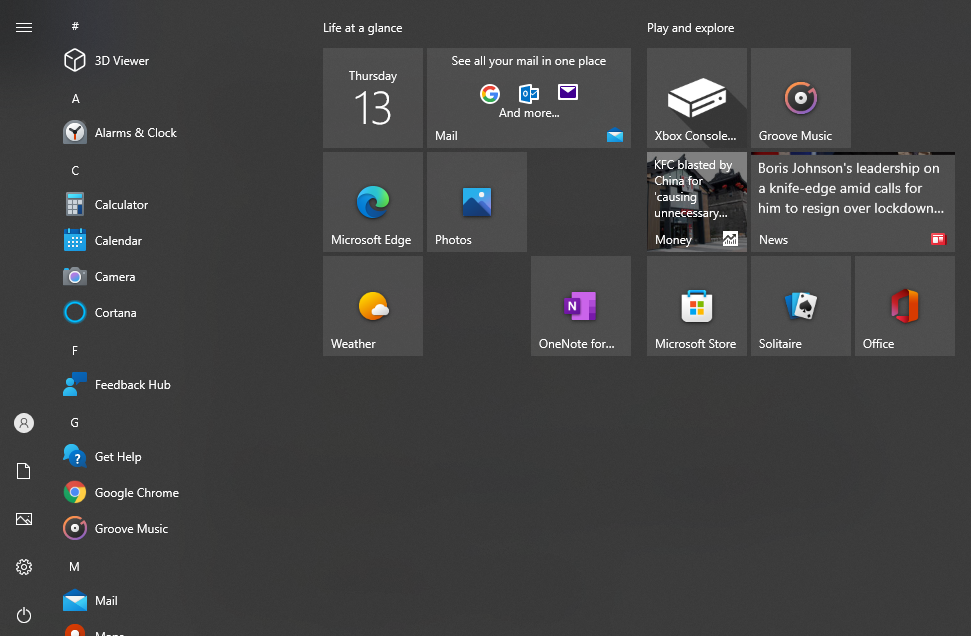
- Wired or wireless, your computer has to be connected to the internet. Now, go to Settings on your Windows PC.
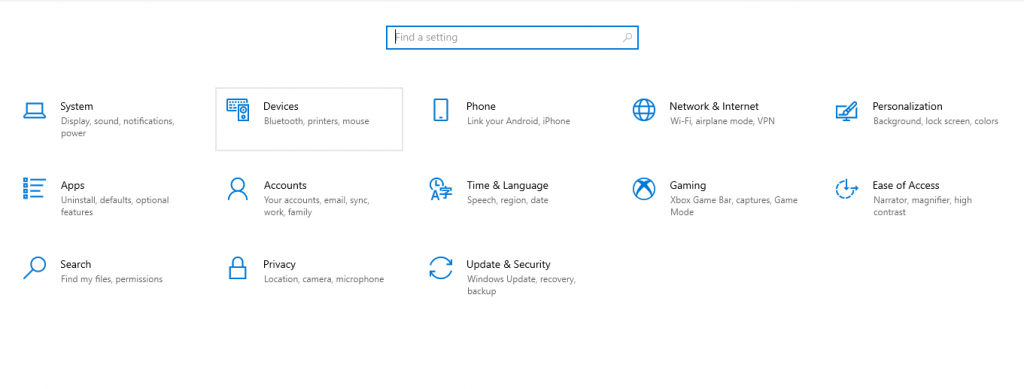
- Click on the Network & Internet item.
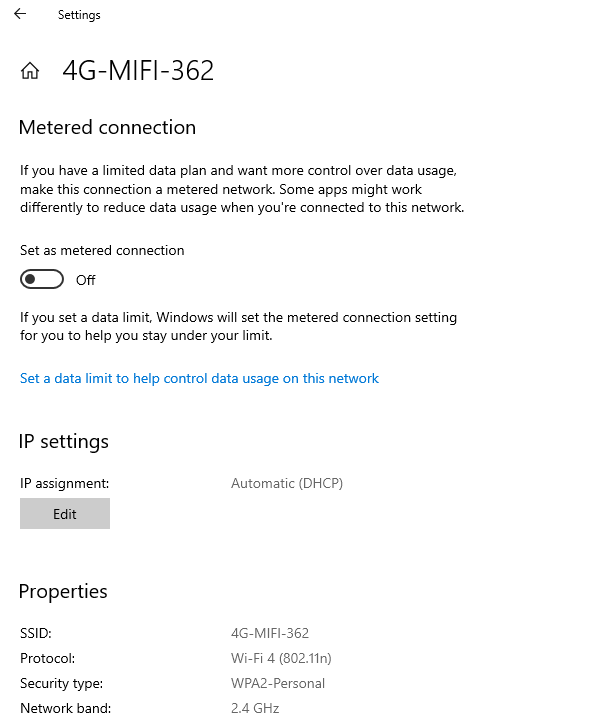
- Now, click on the (wired or wireless) network connection (such as Ethernet) you want to configure, then click the Properties button.
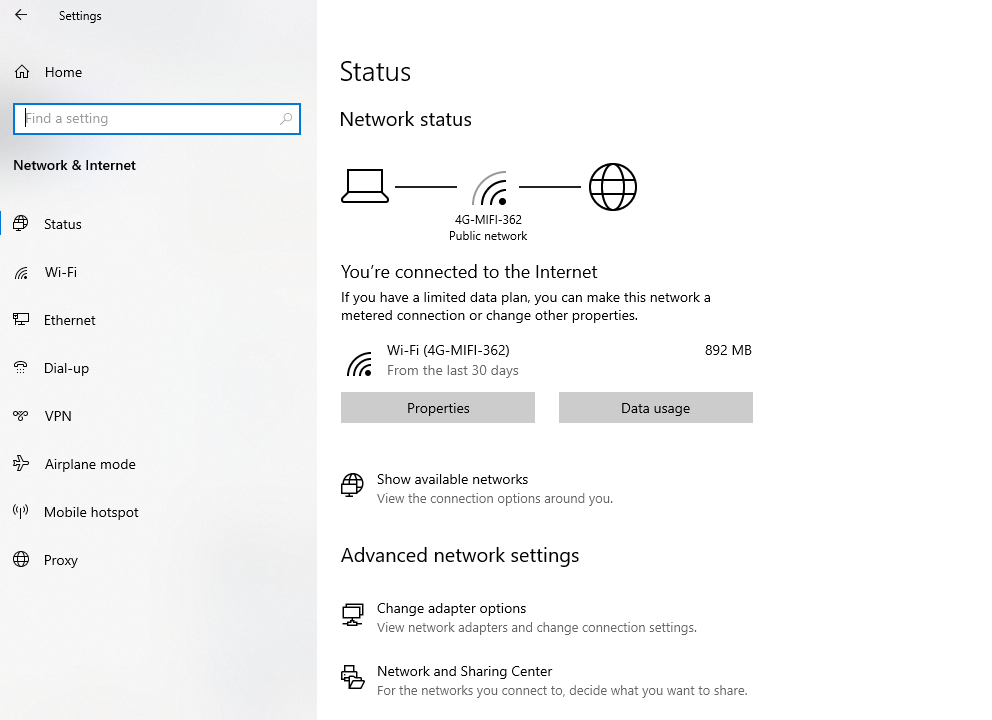
- Within the details for the connection, you’ll see the IP settings section. Click the Edit button you’ll find there.
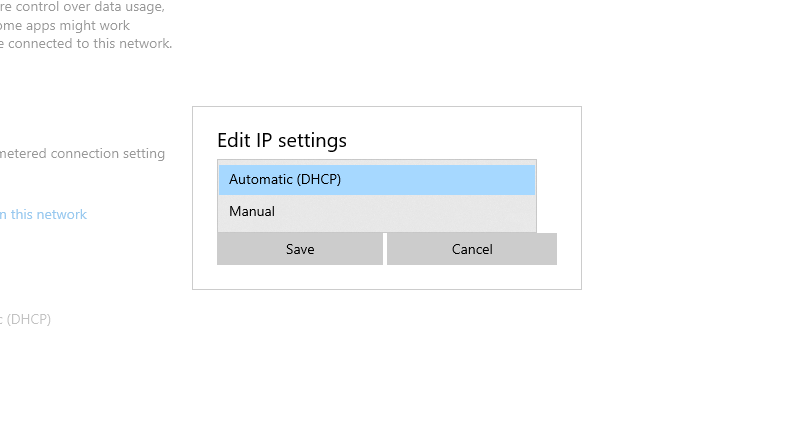
- The connection will most likely be configured as Automatic in the Edit IP settings dialog. Click the drop-down and change it to Manual.
- You’ll see two toggle switches show up, one for IPv4 and one for IPv6. You can enable either or both of these; the process is the same for each. For the next step, we’ll click the one for IPv4.
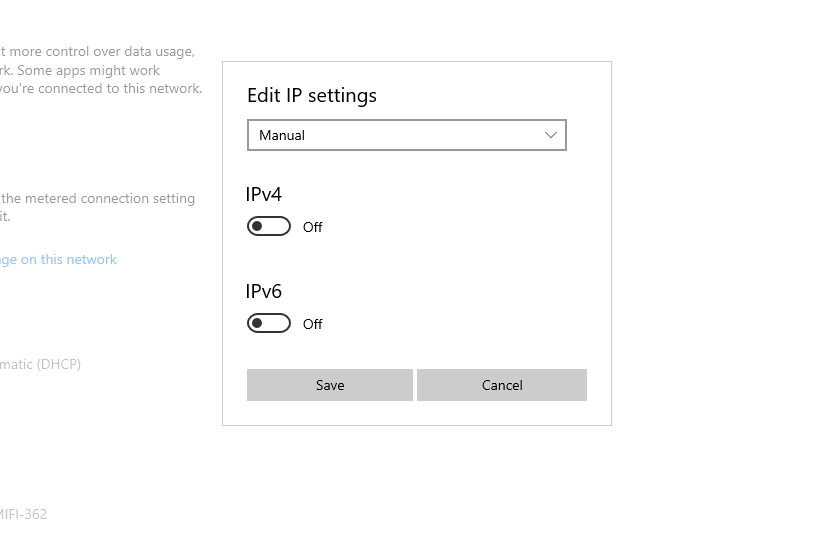
- After clicking, a few input fields will appear. You’ll need to fill these out to include at least the IP address (the address you want the machine to have, of course), the Subnet prefix length (this describes the class of the network, try 24 here, and if that doesn’t work, 16), Gateway (the address of your router device, most likely 192.168.0.1), and Preferred DNS (you can use one provided by your ISP, or try Google’s if you can’t find one: 8.8.8.8).
- Click Save to commit the change.
How to Enable DHCP in Windows
While it’s something of an undertaking to disable DHCP for a connection, it’s much easier to re-enable it.
Go back to Settings > Network & Internet, and click the Properties button for network connection.
Click the Edit button in the IP settings section for the connection.
The Edit IP settings dialog will contain your initial configs. Click the drop-down at the top of the dialog and switch it from Manual back to Automatic.
And that’s how you enable and disable DHCP in Windows.
We hope this article has helped you troubleshoot your internet connection or serve your purpose for enabling or disabling DHCP.
Editor’s picks:

Daniel Barrett
Author
Latest Articles
Popular Articles