What Is The Windows Modules Installer And Why Is It Important?
What is windows modules installer, also called Windows Modules Installer Worker, WMIW, or TiWorker.exe, is a core Windows component that checks for and installs updates for Windows and other Microsoft products automatically. It is also known as Windows Modules Installer Worker.
Author:Daniel BarrettAug 30, 202338.5K Shares916.8K Views
What is windows modules installer, also called Windows Modules Installer Worker, WMIW, or TiWorker.exe, is a core Windows component that checks for and installs updates for Windows and other Microsoft products automatically. It is also known as Windows Modules Installer Worker.
Because of this, you need Windows Modules Installer to keep your system running well. When your PCruns a new update or version of Windows 10 (like 21H2 or 21H1), Windows Module Installer updates all your Windows files and backs up your old data. It's a big job that takes a lot of room and computer power.
What Is The Windows Modules Installer?
Windows Modules Installer runs in the background as a service and is in charge of installing different things on a Windows machine. Its major job is to keep the operating systemstable and secure by taking care of updates, changes, and extra components.
When a user chooses to run a Windows update or service pack, the Windows Modules Installer service is turned on to handle the process. Component-Based Servicing (CBS) technology is used by the Windows Modules Installer service.
This technology was launched in Windows Vista and has been in every version since. CBS offers a framework for handling system components, which makes it possible to install, remove, and maintain them in a safe and controlled way.
The Significance Of Windows Modules Installer For System Stability And Security
Windows Modules Installer is an important part of keeping a Windows system stable and safe because it makes sure that the latest updates and changes are installed. It is important to update the operating system regularly to fix bugs, close security holes, and improve speed. Windows Modules Installer helps keep the system up-to-date and safe from possible security threats by taking care of the installation process.
Methods To Fix Windows Modules Installer Worker High Cpu Usage
Use the following steps to fix Windows Modules Installer Worker - High CPU Usage.
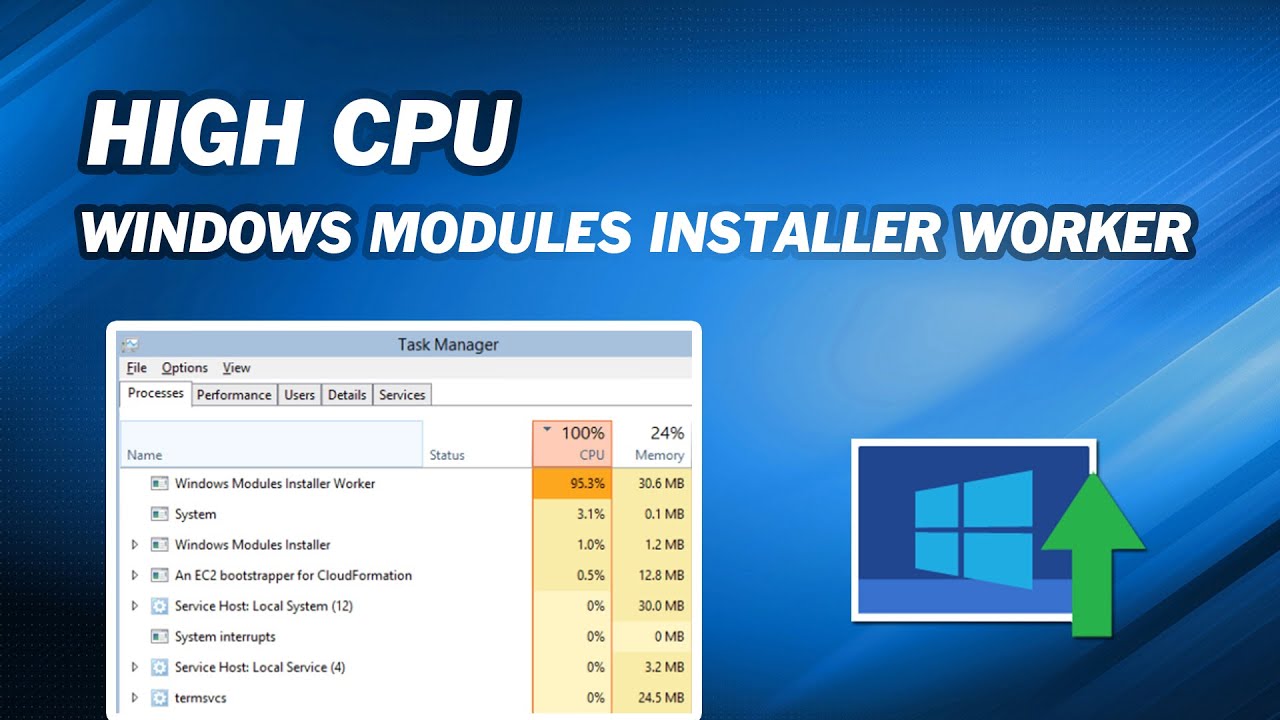
How to Fix Windows Modules Installer Worker High CPU
Remove The Softwaredistribution Folder
When trying to fix this problem, the first thing you should try is to delete a folder called SoftwareDistribution. By default, new changes are put in this folder. When a faulty file is saved here, the Windows Modules Installer Worker can have several problems.
If you delete the folder, it won't hurt anything because Windows 10 will make a new folder with the same name when a new update is found. Please keep in mind that you may need to be logged in as a supervisor to use this method.
Restart The Windows Update Service
Your Windows Modules Installer Worker might be using up a lot of resources if the update service isn't working properly. Just follow the steps below to check and fix this.
- Press the Windows key and the letter R on your computer. This will bring up the Run program.
- To open Services, type "services. msc" and click the OK button. This might take a few seconds to load.
- Scroll down until you see the Windows Update service. Right-click on it and choose "Stop" from the menu that pops up.
- Let's wait 30 seconds.
- Again, right-click the Windows Update service and choose "Start." This should start the service all over again.
Use The Windows Update Troubleshooter
Microsoft has made a tool that can be used to fix problems with Windows patches. Anyone can download this tool for free, even if they don't have a Microsoft Account. All you have to do is run the tool and see if it can find and fix any mistakes.
- Get the Windows Update Troubleshooter and install it. This link to download comes straight from Microsoft's website, which is confirmed, safe, and trustworthy.
- Just double-click on the Windows Update. diagram file you just downloaded to open it. This will open the window for troubleshooting.
- Follow the steps on the screen. If the troubleshooter can find any problems, you can just click on them to quickly fix them or learn more about the problem.
Run The System File Checker (Sfc Scan)
The System File Checker is one of the tools that come with Windows 10. It's also called a "SFC scan," and it's the fastest way to fix damaged system files and other problems instantly. Some users have said that running this scan stopped the Windows Modules Installer Worker High CPU problem from happening again.
- Press the Windows key and the letter R on your computer. This will bring up the Run program.
- Type "cmd" and then press Ctrl, Shift, and Enter on your computer. When you do this, you start the Command Prompt as an administrator.
- If you are asked, click "Yes" to let the Command Prompt change your device.
- Once you're in the code Prompt, type the following code and press Enter to run it: sfc /scannow
- Wait until the SFC scan is done checking your computer for broken files and fixing them. This could take a while, so don't close the Command Prompt or turn off your machine.
- After the scan is done, turn your device back on.
The Impact Of Windows Modules Installer On System Performance
The Windows Modules Installer service is made to run in the background with low importance. This means that it has as little effect as possible on how well the system works when it is being used normally. It uses system resources like CPU and memory in a smart way to organize the user's tasks and keep the installation process running smoothly.
But when larger updates or service packs are installed, the Windows Modules Installer service may temporarily use more system resources to get the job done well. This brief increase in resource use is needed to make sure that the changes or components are installed correctly and work well together.
The Windows Modules Installer also has a feature called "Windows Update Cleanup." This feature instantly gets rid of old updates files and components that are no longer needed. This frees up hard space and improves system speed. It keeps the disk from getting too full and makes sure the system stays fast and quick over time.
How To Disable Windows Modules Installer?
Video unavailable
This video is unavailable: Original link to video
There is bad advice online that says to stop this from happening, you should turn off the Windows Modules Installer system service. You shouldn't do this because it will stop Windows from updating correctly.
In the same way, some people may suggest that you set your network link to "metered." This will stop Windows 10 from automatically getting and installing many updates. This will stop the Windows Modules Installer process from starting, but your computer won't run important security updates that could protect you from malware like WannaCry, which used a bug that was fixed two months before it was released. Not updating your working system is dangerous, and we don't suggest you do it.
You could install updates by hand, but even if you did, the Windows Modules Installer Worker process would still run. It's probably best to just deal with it and let the TiWorker.exe app do its thing from time to time. This is how Windows changes itself, and it is for your good.
How To Enable Windows Modules Installer?
Activating the Windows Modules Installer service is easy and can be done through the Windows Services menu. To turn on the Windows Modules Installer service, do the following.
- Pressing the Windows key and the letter R on your computer will bring up the Run box.
- Type "services. msc" (without the marks) and press Enter. The Services panel will open when you do this.
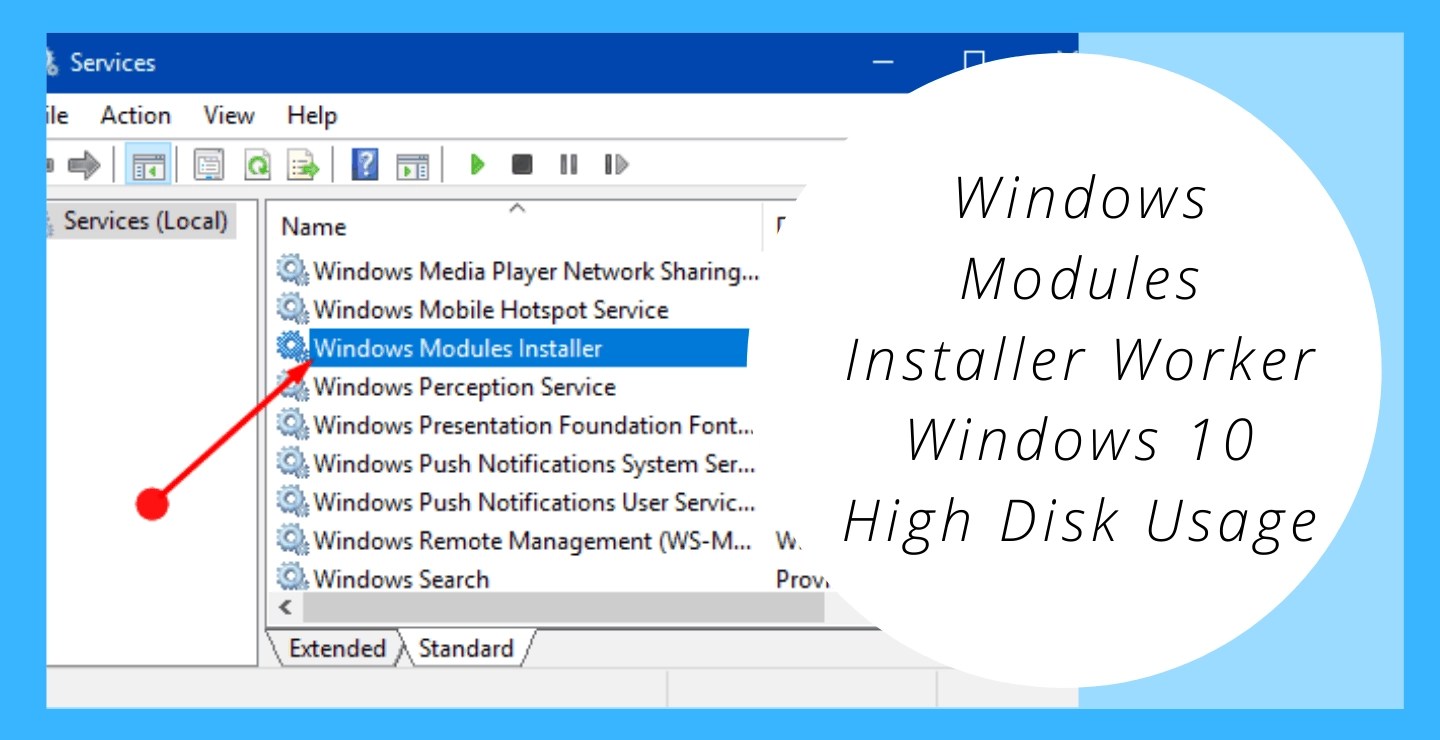
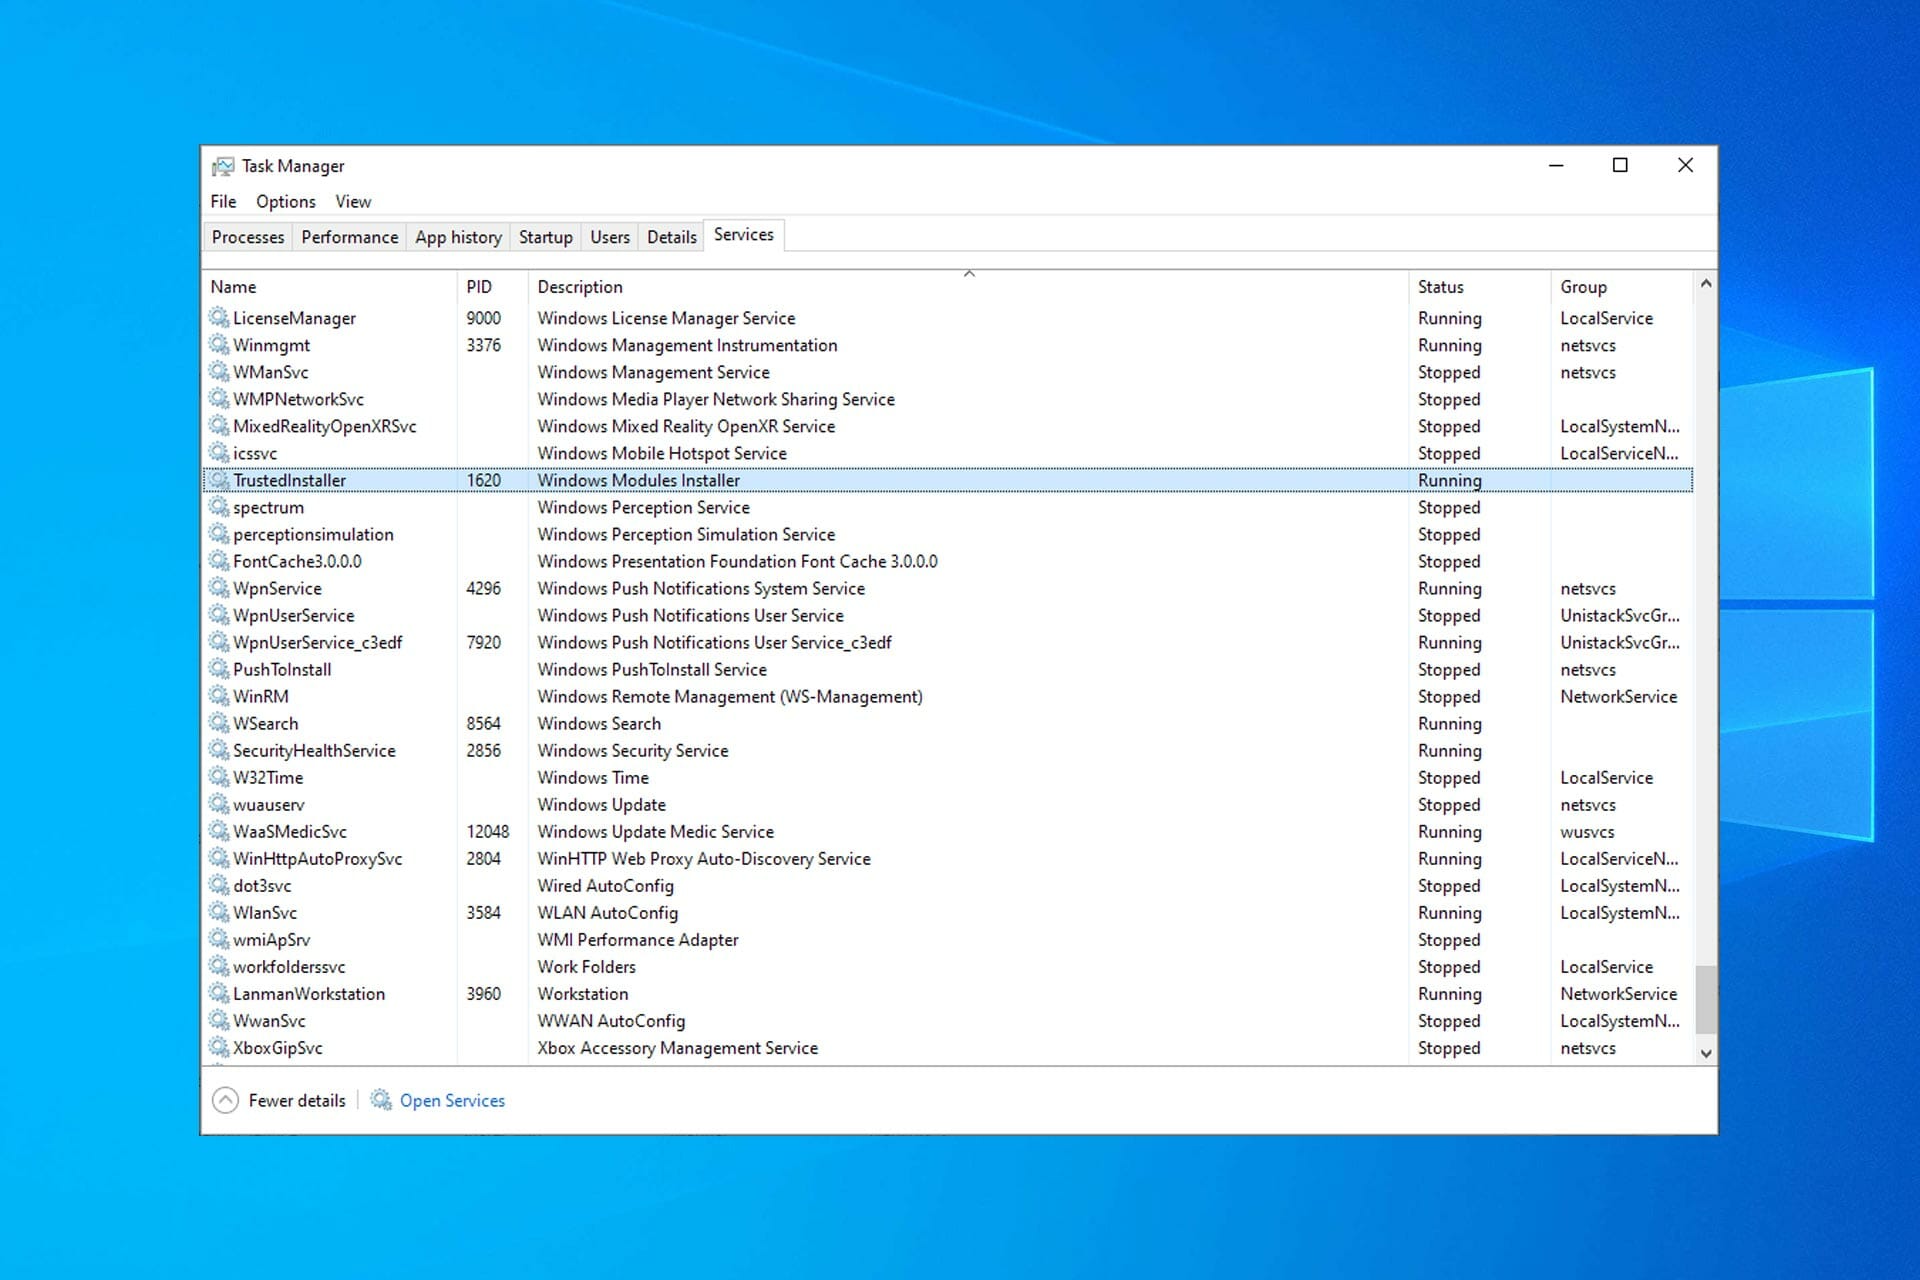
- Scroll down the list of services in the Services window until you find "Windows Modules Installer."
- Right-click on "Windows Modules Installer" and choose "Properties" from the menu that appears.
- Make sure that the "General" tab is chosen in the Properties box.
- In the "Startup type" area, choose "Automatic" from the drop-down box. This will make sure that the Windows Modules Installer service starts immediately when you turn on your computer.
- Click "Apply" to save the changes, and then click "OK" to close the Properties window.
After you finish these steps, the Windows Modules Installer service will be turned on on your computer. It will now start automatically every time you turn on your computer. This will make it easier to install, remove, and change updates and components.
It's important to know that Windows computers usually have the Windows Modules Installer service turned on by default. It's not a good idea to turn off or change this service without a good reason or understanding of what will happen. It is an important part of keeping the system stable, secure, and running well.
What To Do If Windows Modules Installer Is Causing 100% CPU Or Disk Usage
If Windows Modules Installer Worker or TiWorker.exe is always using a lot of CPU or disk space, it's time to take a closer look. Here's how to stop Windows Modules Installer Updates from using up your CPU and disk space.
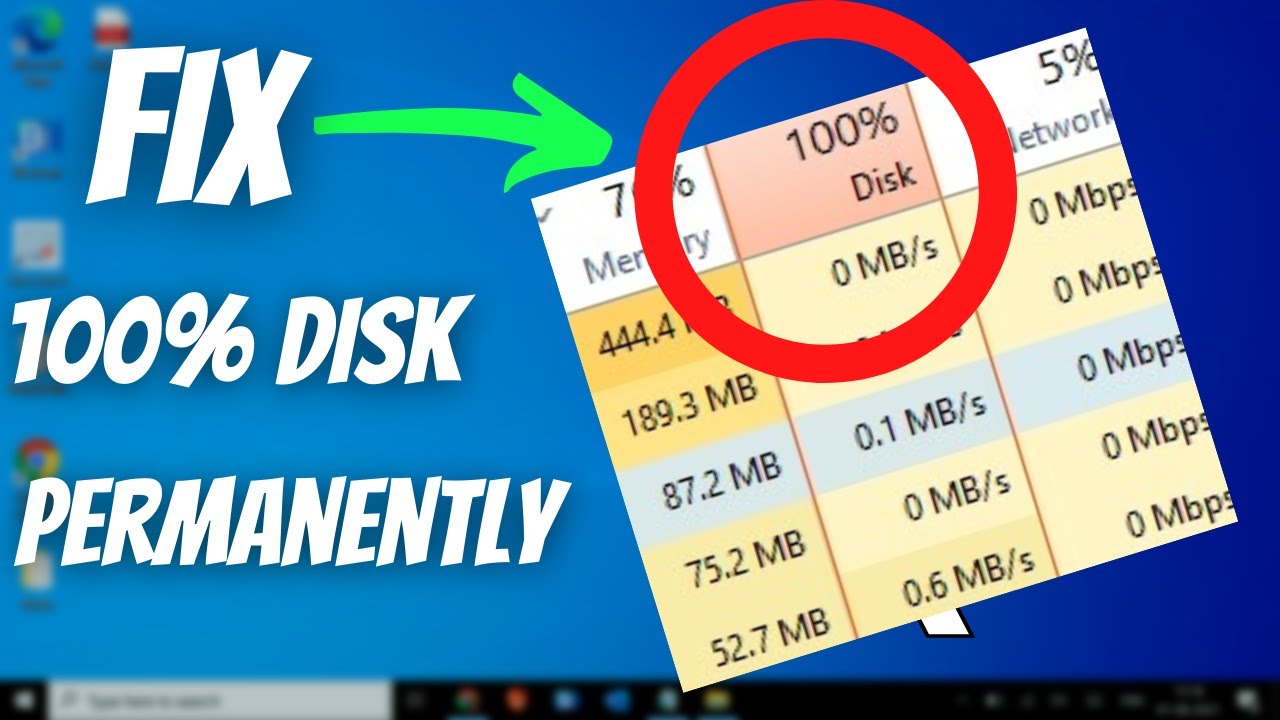
[SOLVED] 100% DISK USAGE Windows 10 FIX [Easy Tutorial]
- Read through our guide to fixing 100% CPU load in Windows and try out the steps on your computer. If you have boosted your CPU, you might notice that it gets hotter more often.
- If you just changed your system, give it a little more time, especially if you have an older PC. Try turning your machine off and on again and see how the update goes. Does Windows Update show that changes are being installed? Does the update progress bar move up, even if it does so slowly? If that's the case, wait until the fix is done.
- If the update doesn't move forward, it might be stuck, and you might even see the feared black screen on Windows. Restart your computer and run the Windows Update troubleshooter. After your computer returns, go to Start > Settings > System and Security > Troubleshoot > Additional Troubleshooters > Windows Update:
- If the steps above don't work, you can get Microsoft's secret fix tool for Windows Update from GitHub. Click on Code, then on Download ZIP.
- Press "Y," then go to steps 2 and 3. Wait until all of the steps are done, and then restart your computer. You've now fixed Windows Update and gotten rid of a lot of temporary files you didn't need.
- Does Windows 10 still have problems with TiWorker.exe and Windows Modules Installer using a lot of hard space? Go back to the Windows Update fix tool and follow steps 5 through 13 in order.
- This will take some time, and after each step, you'll need to restart your computer. But this will fix all of the important Windows files that are needed for changes.
- Try cleaning your computer by hand to get rid of dust that might be getting in the way of your fans. Cleaning the inside of your PC carefully can make it run faster and work better overall. It can also quiet down noisy computer fans.
- Download and install AVG TuneUp, and then use our unique Sleep Mode to turn off all apps that are running in the background. Apps can't use important CPU or disk resources while your device is in sleep mode. This leaves plenty of power for your update. Then, run a final check of the system with the built-in Disk Cleaning tool.
People Also Ask
What Kind Of Technology Is Used By Windows Modules Installer?
Component-Based Servicing (CBS) technology is used by Windows Modules Installer to handle system components in a controlled and effective way.
How Does The Windows Modules Installer Make Sure That The System Is Stable?
During the installation process, Windows Modules Installer checks for compatibility verifies digital signatures, and solves problems to make sure the system is stable.
What Effect Do Windows Modules Installer Have On How Well A System Works?
Windows Modules Installer has low importance, so it doesn't slow down the system too much.
Conclusion
We hope this post helped you figure out "what is windows modules installer" is and fix the problem of the Windows Modules Installer Worker using a lot of CPU on Windows 10. Don't be afraid to come back to our website and help center if you have similar problems in the future. You'll find a way out.
Jump to
What Is The Windows Modules Installer?
The Significance Of Windows Modules Installer For System Stability And Security
Methods To Fix Windows Modules Installer Worker High Cpu Usage
The Impact Of Windows Modules Installer On System Performance
How To Disable Windows Modules Installer?
How To Enable Windows Modules Installer?
What To Do If Windows Modules Installer Is Causing 100% CPU Or Disk Usage
People Also Ask
Conclusion

Daniel Barrett
Author
Daniel Barrett is a tech writer focusing on IoT, gadgets, software, and cryptocurrencies. With a keen interest in emerging technologies, Daniel offers expert analysis and commentary on industry trends. Follow him for authoritative insights into the latest tech innovations.
Latest Articles
Popular Articles