7 Quick Fixes To Kernel Security Check Failure
In this article, we highlight 7 quick fixes to Kernel Security Check Failure on Windows Operating System. Click to read full guide.
Author:Daniel BarrettMay 29, 2022113156 Shares1593747 Views
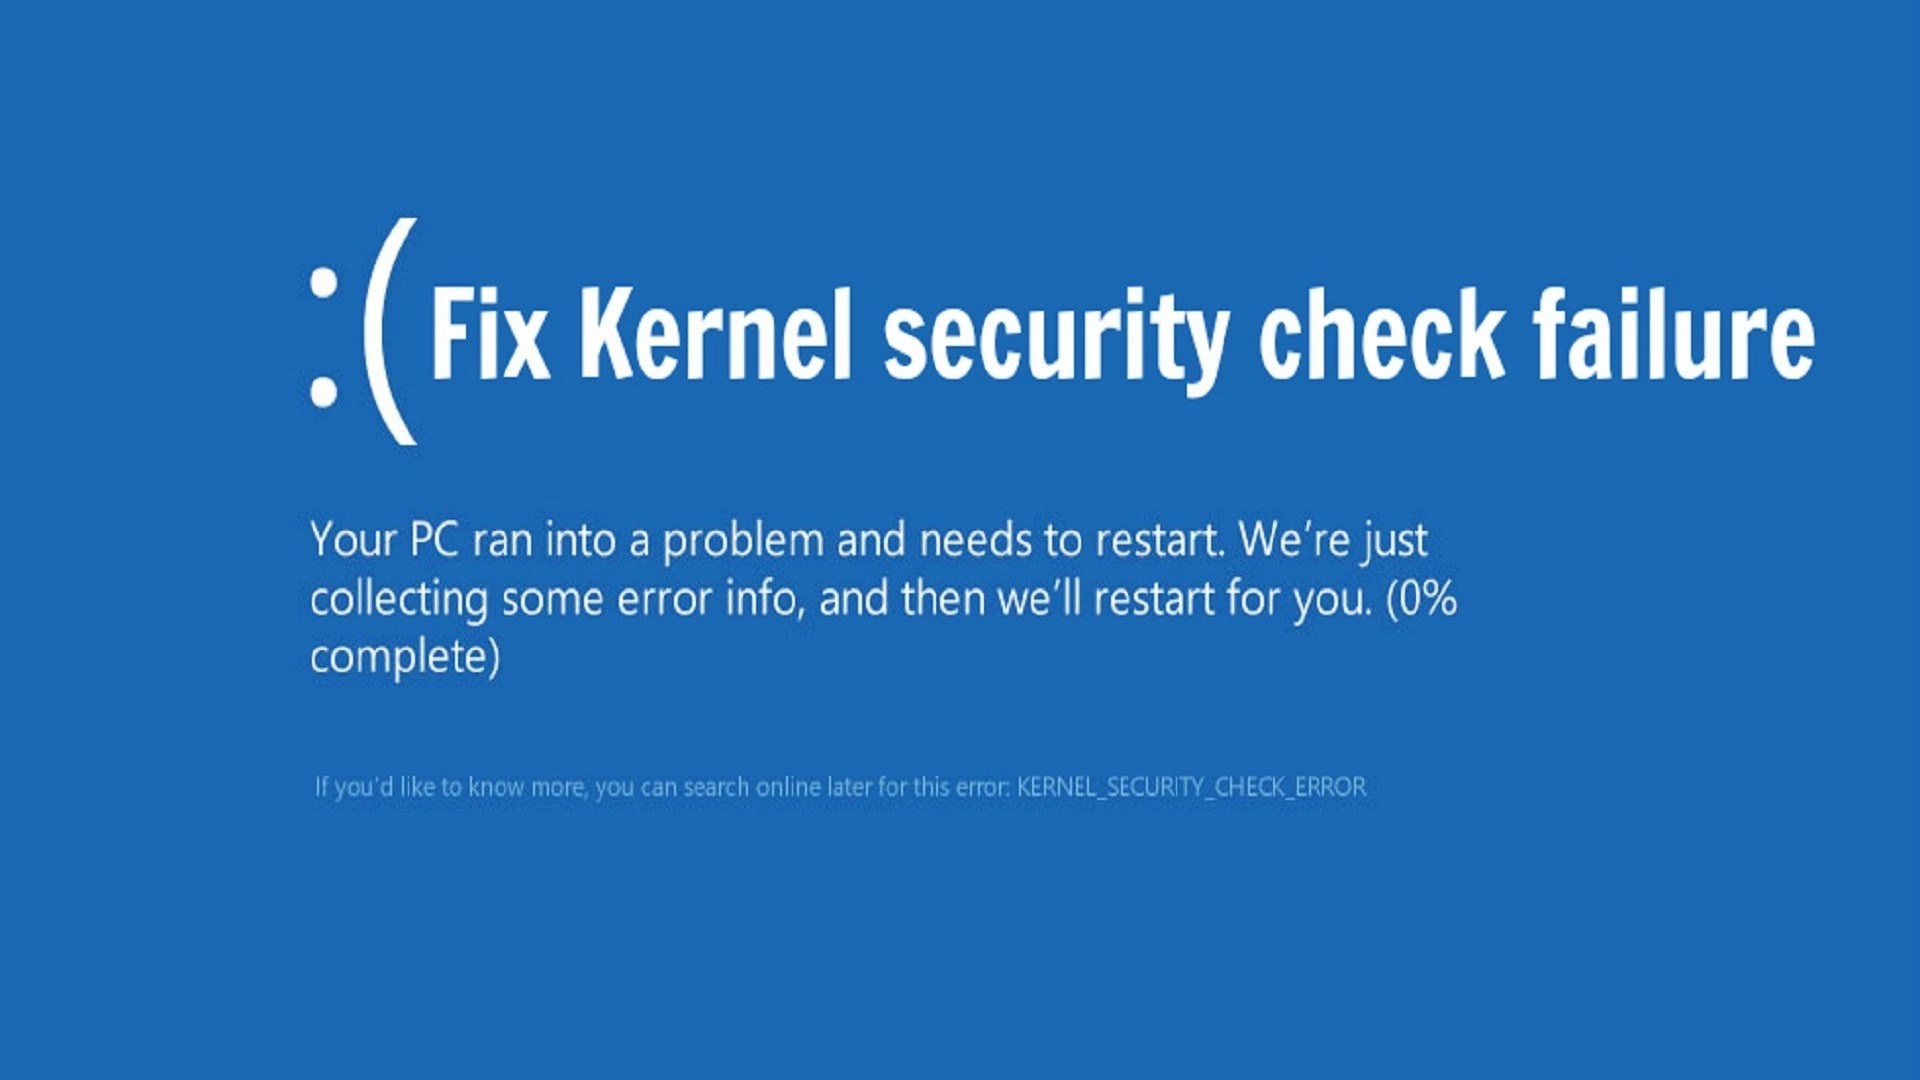
Do you dread seeing the Blue Screen of Death or BSoD? Well, so does the rest of the world! And it’s incredibly annoying as well. Unfortunately, the kernel security check failure is a “serious” error resulting in a BSoD.
Many users who upgraded their operating systemto Windows 10 have experienced this issue. Indeed, Kernel Security Check Failure on Windows 10 install occurs more frequently than you think.
There are two possibilities to this issue. First, you can get into your Windows 10 PC, and from time to time, you get the Kernel Security Check Failure error. The other possibility is that you cannot log in to your operating system, and your device gives you this error message every time you power it up.
This error may occur after waking your PC from sleep, after a RAM upgrade, inserting a new RAM card, or playing games.
If there is one thing that gamers hate, that is getting interrupted when playing their favorite games.
If you’re a gamer, you have probably already encountered this error quite a few times.
Fortunately for you, by reading the lines below, you will get a clue as to why you have this issue and what you need to do to fix this Windows Kernel BSOD on Windows 10.
What Causes Kernel Security Check Failure?
A lot of things can cause kernel security check failure. However, the most common reason is that the drivers you were using for the previous Windows version are not compatible with the new Windows version.
As a result, the OS gives you the Kernel Security Check Failure error message followed by the 0x000000139 error code.
The kernel security check failure happens due to:
- Memory problems
- Outdated drivers
- Viruses
- Corrupted Windows system files
- Security programs
- A damaged or corrupted hard disk
Also read:How To Find Your Windows 10 Product Key
How To Fix Kernel Security Check Failure?
You may have to try different steps to fix this error as you do not know exactly the problem. For example, is it drivers, memory, virus, or what? So you’ll have to explore a bit to understand the problem.
Let’s see how to identify and fix this error.
Memory Problems
You can identify memory problems with the memory diagnostics tool available in Windows 10, 8, and 7. This tool also tests the RAM on your computer.
Go to the Control panel and type “memory” in the search bar to run this tool. Then, click on “diagnose computer memory problems” to open this tool. You can also type “mdsched” in start search and press Enter to open this tool.
You have two options; you can restart the computer and check for problems right away or check for problems when you restart. Make sure you save your work.
If you’re an advanced user and want to adjust this tool’s settings, press F1 when the tool starts. You can change the following parameters.
- Test– There are three types of tests: basic, standard, and extended. Each of these tests is described on the screen, and you can choose whichever you want.
- Cache– Choose the cache setting.
- Pass count– Decide how many times you want the system to repeat this test.
After making the changes, type F10 to start the test.
If this tool throws up errors, contact your manufacturer as these errors indicate a problem in the memory chip or RAM.
Corrupted Windows File System
To check if the kernel security check failure is due to a corrupted or damaged file system, run the system file checker tool.
Run this utility tool if you’ve modified or replaced any system files while customizing your operating system. Also, run this tool when you think some other program could’ve tampered with your system files, though it’s pretty unlikely if you’re using Windows Vista 7, 8, or 10. In these versions, the system file checker is integrated with the Windows Resource Protection, so all critical system files are in protected mode. In addition, even if there’s any change, the original file is automatically restored from a cached copy of the folder.
Open your command prompt, type “sfc/scannow” and hit enter to run this tool. This tool will run, and in case of any problems, it’ll replace the corrupted files from the cache during reboot.
Driver Issues
Driver Verifier is an excellent tool to check for driver incompatibilities. Type “verifier” in the start menu search box and hit enter to open this tool. Alternately, type “verifier/?” in the command prompt. Both these options should open the Driver Verifier. Type CMD in the search menu to access the Windows Command Prompt.
Note:You’ll have to run this tool as an administrator. To do this, right-click on the cmd and click Run as administrator.
Select “create standard settings,” which is the default, and click next. You can also choose “Create custom settings” to select individual options or settings. Some of your options are:
- Automatic check– This option continuously checks the performance of the selected driver(s). In case of faulty behavior, the manager will ensure that the driver releases all resources before unloading.
- Special pool – When you choose this option, the manager allocates a driver’s memory request from a special pool monitored for overruns and underruns.
- Force IRQL Checking– In this option, the manager invalidates pageable code to prevent a driver from accessing paged memory at the wrong IRQL.
- Low resources simulation – When you select this option, the manager randomly denies memory requests to a driver to test the driver’s ability to handle low resources.
- Pool tracking – This option tracks if a driver has released all memory resources when unloaded. This prevents memory leaks.
- I/O verification – This option monitors a driver’s I/O handling capability and, in the process, detects inconsistent I/O routines.
- Deadlock option– This option monitors a driver’s spin locks and mutexes to check the driver’s ability to cause deadlocks.
- DMA verification– This option checks the driver’s use of DMA routines to check for improper use of DMA buffers and map registers.
- Security checks– The manager looks for common errors that can cause security vulnerabilities.
Kernel Security Check Failure
Depending on what you need, you can choose specific options.
Once you’ve selected your options, it’s time to choose the driver(s) you want to monitor. Again, you can either pick individual drivers or choose from the built-in choices of the verifier manager.
Automatically select “unsigned drivers” – Good choice for testing Windows versions that don’t require signed drivers.
Automatically select drivers built for older versions of Windows. It helps to check driver compatibility for newer versions of Windows.
Automatically select “all drivers installed on this computer” to test all the drivers installed on your computer.
Then, select drivers from a list. You can choose all the drivers you want to test in this option.
Once you make your choices, click on finish and reboot the computer. On startup, the driver verification manager will check for driver inconsistencies.
In case of corrupt drivers, uninstall, reinstall, or update them.
Corrupted Hard Disk
Scan your hard disk for errors and inconsistencies using the check disk tool. Windows 8/10 has a redesigned chkdsk utility tool for automatically detecting any problems in your hard drive. This is because Windows 8 has a new type of file system called ReFS that doesn’t need an offline chkdsk tool to repair problems. Since this file system uses a different model for resiliency, this check is not required. But if you still wish, you can manually run a scan.
Run the command “chkdsk /f c:” on your command prompt and restart your computer if needed.
In earlier versions, you can run this tool manually. However, it’s recommended you run this check once in a while to check for hard disk errors that can happen due to improper shutdown, corrupted software, and more.
Viruses
Try checking for viruses and ransomware when you can’t identify the problem. Then, install the latest Windows updates and run the antivirus software. In case of viruses, please take the necessary action to remove them from your computer.
To access the Windows Update section, you can type “update” in the search box. This method works on all Windows versions. Then go to Windows Update, check for updates and install the available updates.
Also, if you don’t want to reset your computer, you can try to boot your computer in Safe Mode to identify if there are any apps or software that are causing this problem.
If the problem doesn’t occur in Safe Mode, an app or software triggers the problem. So, you have to enable your programs one by one to identify the culprit. Once you’ve done that, you can uninstall the problematic software.
If there is a hardwarefailure of the HDD or the RAM in your device, you will most likely have to replace it with a new one.
The steps above showed you how to fix the Kernel Security Check Failure error message on your Windows 10 PC.
If you have any additional questions regarding this subject, please don’t hesitate to write us in the comments section below, and we will help you further as soon as possible.
Also, please give us your experience in the comments section on how you fixed such BSoD errors.
Editor’s picks:

Daniel Barrett
Author
Latest Articles
Popular Articles