How to Take a Screenshot on Windows 10 PC
If you need to capture a screenshot of something on your PC screen, Windows 10 offers a variety of methods for doing just that.
Author:Daniel BarrettAug 19, 202212889 Shares644440 Views
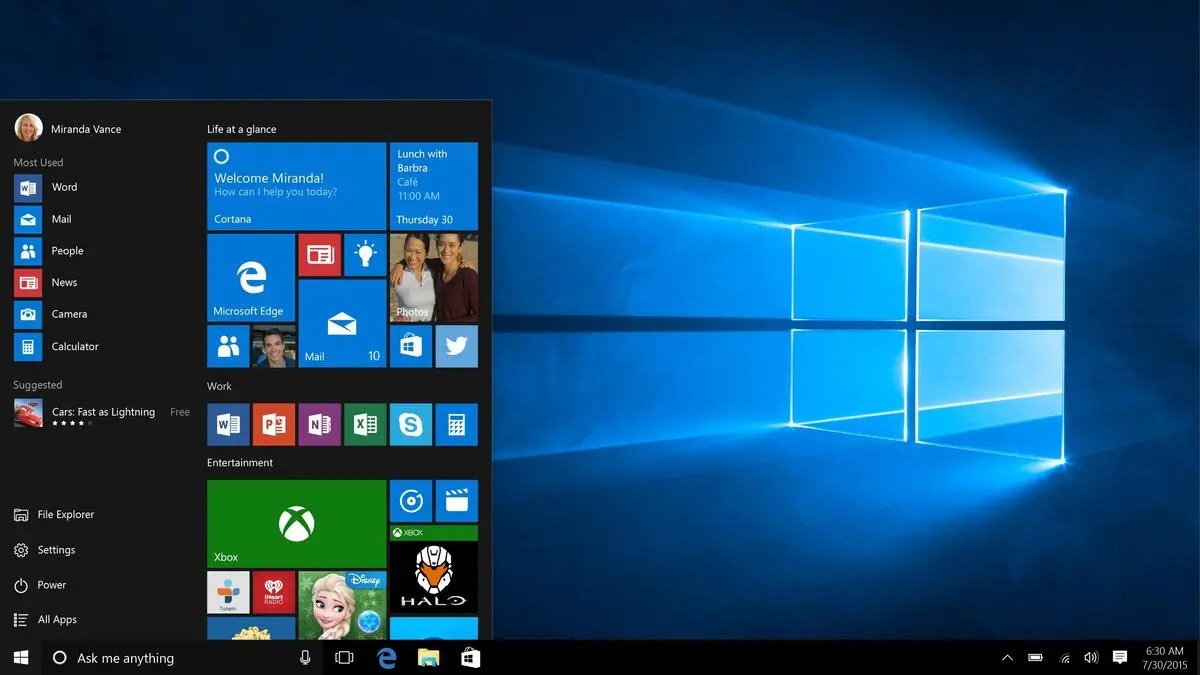
If you need to capture a screenshot of something on your PCscreen, Windows 10 offers various methods for doing just that. Whether you want to save the entire screen or just a piece of it, we’ve rounded up all the most common techniques for taking a Windows10 screenshot. In addition, there are various ways by which you can take quick screenshots from your keyboard directly. So let’s dive into it!
How To Screenshot On Windows 10 Using PrtScn
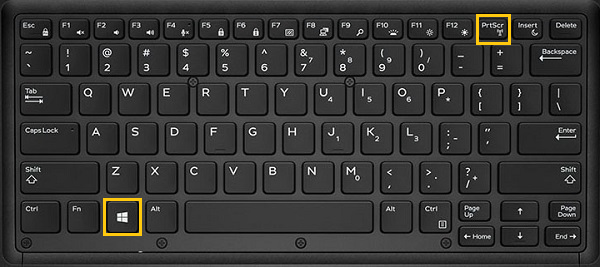
To quickly take a screenshot on Windows, press the Print Screen key (PrtScn) on the upper-right side of your keyboard. Windows will copy a screenshot of your entire screen to the clipboard, and you can paste it into any program.
On some laptops, you might need to hold down the “Function”or “Fn” key while pressing Print Screen to activate it.
With the PrtScn key, you can also take a screenshot on Windows 10 in a few more ways:
To capture your entire screen and automatically save it, press the Windows key + PrtScn. Your screen will go dim, and the screenshot will save to the Pictures > Screenshots folder.
To capture the active window, you’re currently working in and copy it to your Clipboard, press Alt + PrtScn. Then, you’ll need to paste it into another program to save it.
If you need to capture a screenshot of something on your computer screen, Windows10 offers a variety of methods for doing just that. Whether you want to save the entire screen or just a piece of it, we’ve rounded up all the most common techniques for taking a Windows10 screenshot. In addition, there are various ways by which you can take quick screenshots from your keyboard directly. So let’s dive into it!
A quick tip: The Print Screen key command applies to Microsoft Surface tablets, but there’s also a quicker method. To take a screenshot on a Surface laptop, press the Power Button + Volume Up Button. On a Surface 3 or earlier, you’ll need to press the Windows Logo + Volume Down Button. The screen will dim, and your screenshot will be saved to Pictures > Screenshots.
How to take screenshots on Windows 10 using Snip & Sketch
Snip & Sketchis Windows’ latest screenshot tool that makes it easier to customize, share, and annotate screenshots. It essentially acts as an upgraded version of the Snipping Tool.
Snip & Sketch comes pre-installed on Windows 10 versions 1809 or higher. If you can’t find the Snip & Sketch app, it’s available for download through the Microsoft App store.
- To activate Snip & Sketch, use the keyboard shortcut Windows Key + Shift + S. You can also open the Snip & Sketch tool from the Start menu or search for it.
- Upon pressing Windows Key + Shift + S, your screen will dim, and a mini menu will appear at the top of your screen, giving you the option to take a rectangular, free-form, window, or full-screen capture.
- After taking your screenshot, it will be saved to your clipboard, and a preview notification will appear in the lower-right corner of your screen. Clicking the image will take you to the Snip & Sketch app, where you can edit the screenshot with the available drawing tools before saving or sharing it.
A quicktip: To take a screenshot with Snip & Sketch directly, open the app and click “New.” You can also take a timed screenshot with a delay of 3 or 10 seconds, ideal for capturing any context menus or pop-up windows that disappear after another item is clicked on. Did you get that? If you got that, let’s proceed.
How to screenshot on Windows 10 PC using the Snipping Tool
The Snipping Tool has been a part of Windows for a long time. This tool was first included in Windows Vista and never got any new features apart from a few bug fixes. The snipping tool can take screenshots of an open window, rectangular area, a free-form area, or the entire screen. In addition, you can annotate your snips with different colored pens or a highlighter, save them as an image or MHTML file, or email it to a friend.
Snipping Tool in Windows Vista, 7, and 8 has one limitation: it can’t capture screenshots that involve mouse movements. To capture something that involves mouse movement, like pop-up menus and tooltips, you will have to use the Print Screen method.
In Windows 10, Snipping Tool has a new “Delay” option, which will allow you to capture screenshots, pop-up menus, and tooltips. First, open the Snipping Tool app and click Delay. Then, from the drop-down list, click on the number of seconds you’d like to wait until your screenshot is taken.
Now choose the type of snip you want to make by clicking the arrow next to “New.” You can choose from one of four types of snip: free-form, rectangular, window, and full-screen.
Unlike a regular snip, the screen will not immediately fade out. Instead, you will have between 1–5 seconds to set up your screenshots, depending on the delay you choose. You can use this time to open that pop-up menu or tooltip you want to capture. Once your seconds have passed, the screen will freeze and fade out so you can create your snip. If you choose window or full-screen, it will just capture the snip immediately.
How to screenshot on Windows 10 PC using the Game Bar
The Game Bar is an overlay you can use within most Windows games to take screenshots and record videos.
To open the Game Bar, press Windows Key + G., You can use it in any app, not just games.
On the overlay menu, click the camera icon to capture a full-screen screenshot. You can also record a video clip by pressing the red record button, with the option to include audio by clicking the microphone icon.
If you need to capture a screenshot of something on your computer screen, Windows 10 offers a variety of methods for doing just that.
Whether you want to save the entire screen or just a piece of it, we’ve rounded up all the most common techniques for taking a Windows 10 screenshot.
Take a screenshot on Windows 10 PC using third-party apps
After following the procedures or methods above, if you still have issues with not being able to take screenshots on your PC or you are unsatisfied with the methods provided above, do not fear, as there are third-party screenshot tools worth considering each with their extra offerings.
- Snagit:A screenshot tool that notably allows you to create animated GIFs and take full-page and scrolling screenshots. The downside? The premium version costs $50.
- Lightshot:A free screenshot tool designed for quick social sharing.
- Greenshot:Another free screenshot tool with editing abilities and the option to capture a complete scrolling web page.
Editor’s recommendations:

Daniel Barrett
Author
Latest Articles
Popular Articles