How to Put a DMG on a Flash Drive to Install
This article explains how to put a DMG on a Flash Drive to Install. Disk Images, or DMGs, are a common way to compress large files on Mac...
Author:Daniel BarrettAug 24, 2022109672 Shares1462290 Views
Disk Images, or DMGs, are a common way to compress large files on Mac computers, including apps. Because these files can often be a few gigabytes in size, a USB flash drive is usually the fastest way to get the file to your Mac computer. If the file has been downloaded to a Windows PC, you will need to make sure the USB flash drive is formatted in FAT32 — a format that both the Windows PC and the Mac computer can read. Most USB flash drives already use this format, but if yours doesn’t you can quickly format it in Windows.
There is also the possibility of converting the file into a format more suitable for Windows, which is the ISO file format for disk images. Considering the above, let’s look at different ways to create a bootable drive from a DMG file on a Windows computer.
Using a Windows PC
- Download and install DMG Editor on your Windows PC.
- Launch the application and click on the “Burn” section. You will also see other modules such as Edit, and Extract.
- Import the DMG file by clicking the “Browse” button and choosing the USB drive name.
- Click the “Burn” button at the bottom of the window to start burning the DMG file to a USB drive. Once it gets started, it displays a progress bar and you have to wait for the task to be finished. Usually, it takes 20 minutes depending on how large the file is.
In a few moments, your bootable USB flash drive will be ready for use. Since you haven’t done any conversion, you can use this directly on a Mac for program installation
Using Mac
- Insert the flash drive into the USB port of a Mac computer that has the DMG file you need. Launch Finder. After a couple of seconds, the drive appears in the left menu of the Finder menu.
- If Mac OS X doesn’t recognize the flash drive, it prompts you to format it and the Disk Utility app opens. Select “ExFAT” in the Format menu of the Partition tab only if you want to use the flash drive on a Windows PC. Otherwise, select “Mac OS Extended” if you plan to use the flash drive only with Mac computers.
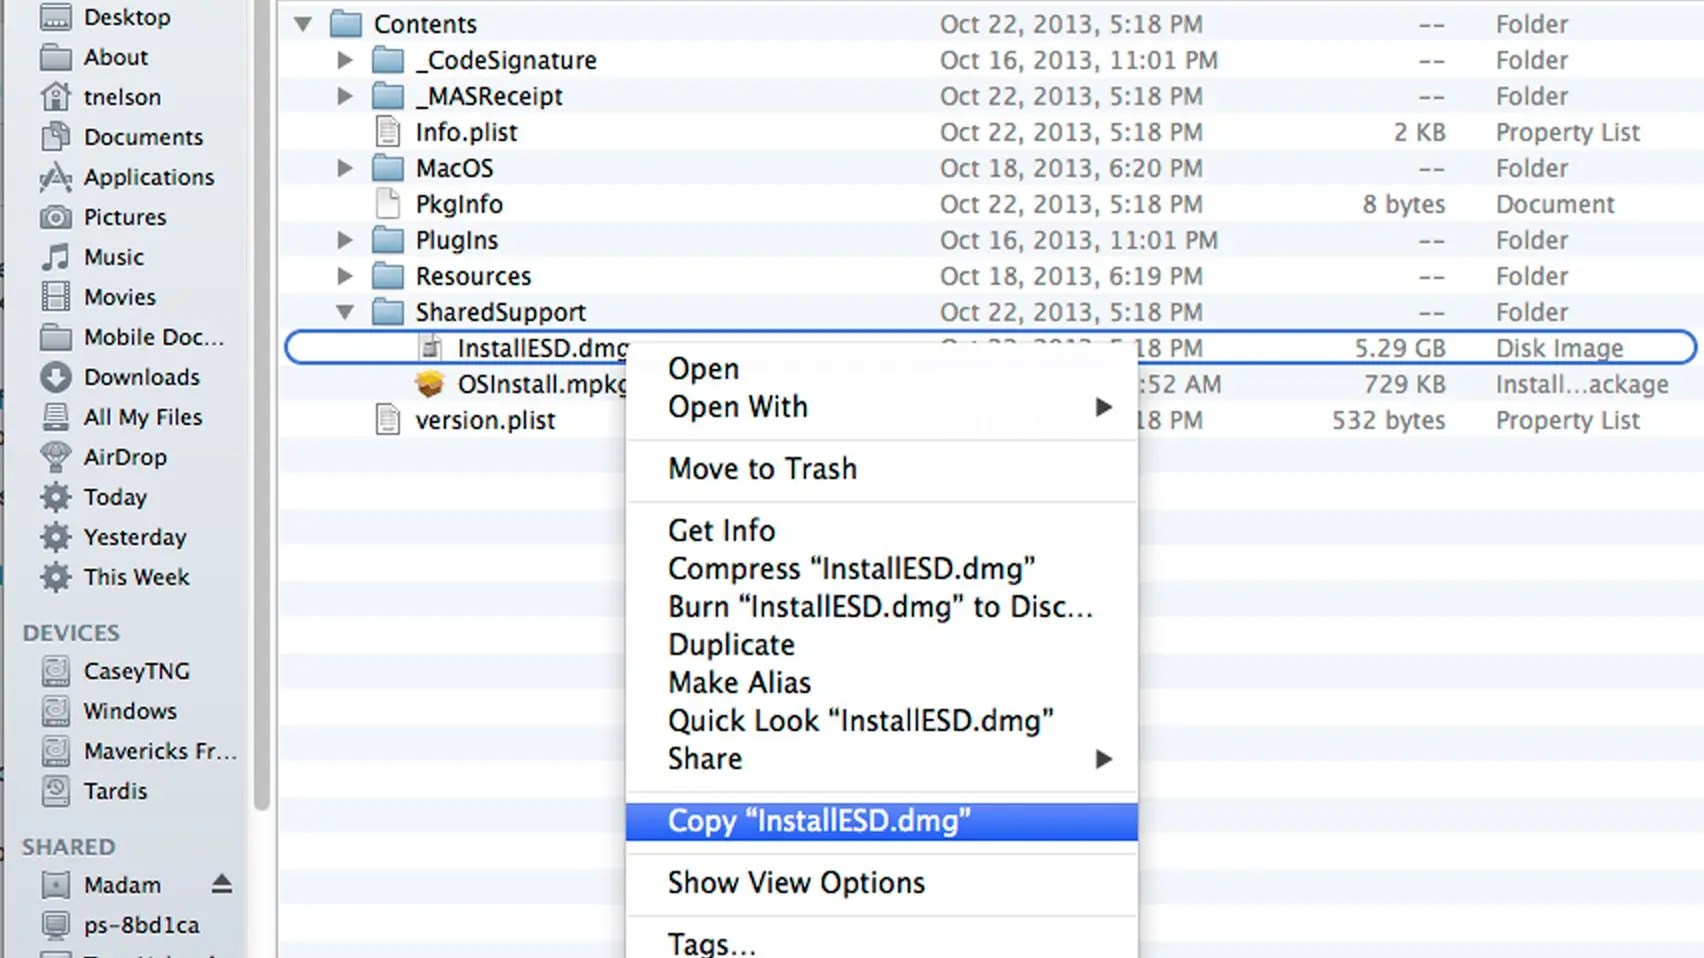
- Locate the DMG file in the Finder. Drag the file onto the flash drive icon in the Finder’s left menu.
- Hover the cursor over the drive’s icon in the Finder and select “Unmount” when the file transfer is complete. Alternatively, drag the icon from the desktop onto the Trash icon.
Installing From the Flash Drive
- Insert the flash drive into the USB port of the destination Mac computer.
- Launch Finder and then double-click the flash drive’s icon in the left menu of the Finder window.
- Drag the DMG file onto the desktop or any folder in Finder. Double-click the transferred file to launch it on the Mac.
- Right-click the DMG file on the USB flash drive if you don’t need to use the file again and select “Move to Trash.” Select “Empty Trash” from the File menu to completely remove it from the flash drive.
Editor’s picks:

Daniel Barrett
Author
Latest Articles
Popular Articles