How to Fix DNS_PROBE_FINISHED_NXDOMAIN Error
In this guide, we'll explain why you're getting DNS_PROBE_FINISHED_NXDOMAIN error and how to fix it. Click to read full guide.
Author:Daniel BarrettMay 20, 2022779 Shares194769 Views
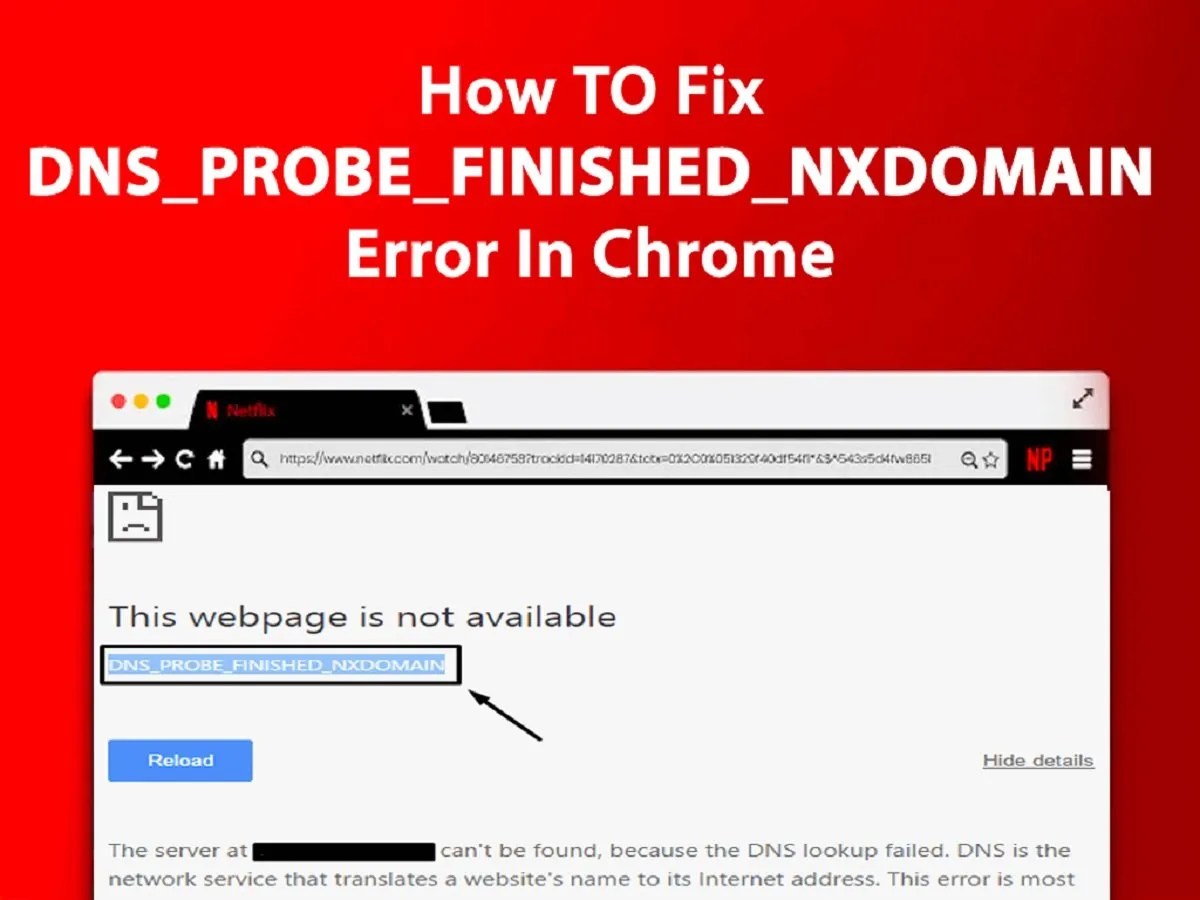
DNS probe errors are widespread and imminent in the setup. You will often encounter errors like the White screen of death or Error 404 not found error. One of the most commonly seen errors featuring the concept is DNS_PROBE_FINISHED_NXDOMAIN.
This is one of the common issues seen by almost all regular computer users once in their usage cycle. The message comes in standard web browsers, leaving the users not to be redirected to the target website.
You will find below the steps to fix this error on your computer.
Fix DNS_PROBE_FINISHED_NXDOMAIN Error in Chrome
When you try to access a website by typing its name, the web browser on your computer takes the help of DNS Server (Domain Name Server) to find the IP Address of the website you are trying to access.
For example, if you type YouTube in the Chrome browser, the DNS server automatically supplies Chrome with the IP Address (216.58.218.110) of this website.
However, sometimes the DNS Server fails to provide Chrome with this information, which results in DNS Failure error messages.
How to fix DNS_PROBE_FINISHED_NXDOMAIN Error?
By Restarting DNS Client Service
DNS errors are addressed in various ways. The most common way to solve the Dns_Probe_Finished_Nxdomain issue is using a Windows O/S user via resolving cached DNS server files.
Here’s how:
Open up the Command Prompt window using key combinations of Windows Key+R
When the terminal opens up, type ‘services.MSC’ will immediately lead to the local Services Page. Once on the page, the user will search the ‘DNS client’ option, where on a right-click, there will be an option to restart, which is to be exercised. The cache files in DNS names will be refreshed by performing the function, and the errors might be removed.
Alternatively, depending on the Windows O/S versions, the other way involves using the command prompt to resolve the issue. All a person requires is to search “cmd” or “command” in the run tab, which will open up the DOS layout. In this interface, typing “net stop dnscache” and “net start dnscache” will do the refreshing of DNS files.
Clear Chrome Browser Cache
- Open Google Chrome Browser on your computer (In case you are not already there)
- Click on 3-dots Chrome Menu Icon > hover your mouse on More Tools and click on Clear Browsing Data… option.
- Select All Time as the Time Range on the next screen and click on the Clear Data button.
Note:You can deselect items if you want to retain certain types of browsing data on your computer.
Switch to Google DNS
The ISP usually supplies DNS Server addresses, and the users can change this temporarily while facing issues. There are popular public domains today which are known to be secured and have an extensive user database. One is Google’s Public DNS, and the other one is OpenDNS.
Both Google and OpenDNS are known to be highly reliable and are likely to be faster than the DNS Servers used by your Internet Service Provider.
- Open Settings > click on Network & Internet.
- Scroll down and click on the Network & Sharing Center link on the next screen.
- On the Network and Sharing Center screen, click on your WiFi Network Name.
- And on the next screen (WiFi Status), click on the Properties option.
Note:You may be prompted to enter your Admin Password if you are not logged in with your Admin Account.
- Select Internet Protocol Version 4 (TCP/IPv4) and click on the Properties button on the WiFi Properties screen.
- On the next screen, select the Use the following DNS server addresses option and enter 8.8.8.8 in the box next to Preferred DNS Server and 8.8.4.4 in the box next to Alternate DNS server.
- Click on OK to save the new DNS Server settings.
With the above steps, you have successfully changed the DNS Server on your computer to Google DNS.
Note: If you want to use OpenDNS, type 208.67.222.222 in the Preferred DNS server box and 208.67.220.220 in the Alternate DNS Server box.
Bottom Line
DNS_PROBE_FINISHED_NXDOMAIN errors are perhaps the most frequently occurring network issues the users face. The solutions mentioned are tried and tested, which has a minimal impact on the system while resolving the issue quickly. For a generic note, it is always recommended that all users clean up the network cache memories regularly. Failing might cause problems concerning DNS components. So the next time, in case an issue arises, try different methods mentioned.
Editor’s Picks:

Daniel Barrett
Author
Latest Articles
Popular Articles